Cabbage is supposedly the latest ‘it’ vegetable, the suddenly fashionable ‘new kid on the block’. It’s in the zeitgeist and cauliflower has been kicked to the curb and replaced with the humble cabbage.
Dear Cabbage, please know that I have always loved you. When you were the wallflower, the last kid picked for handball and the lonely vegetable left sitting on the veggie stand. Eastern Europe stood by you when so many others shunned you. You are delicious whether eaten raw, cooked, pickled and fermented.
Cabbage, I am happy that you are having your day in the sun. Please know that those of us who have always been your stalwart supporters, will still be here when your fifteen minutes of fame finally ends.
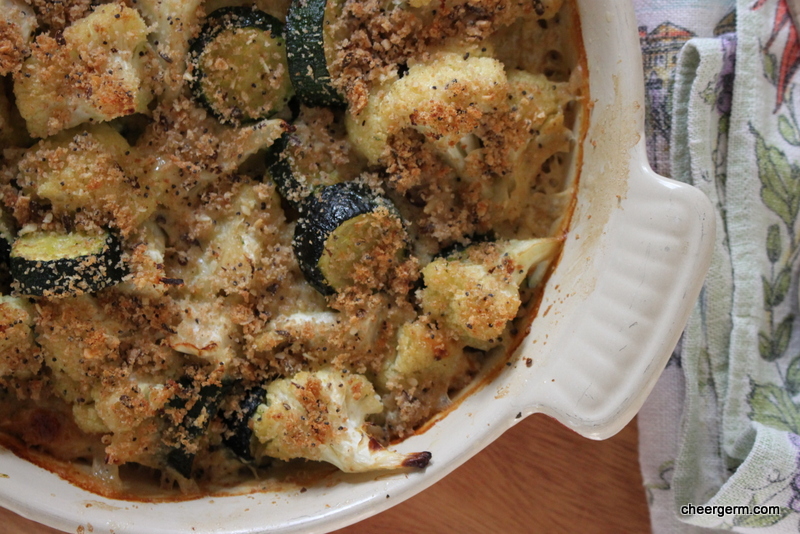
SAUTÉED CABBAGE
WHAT YOU NEED
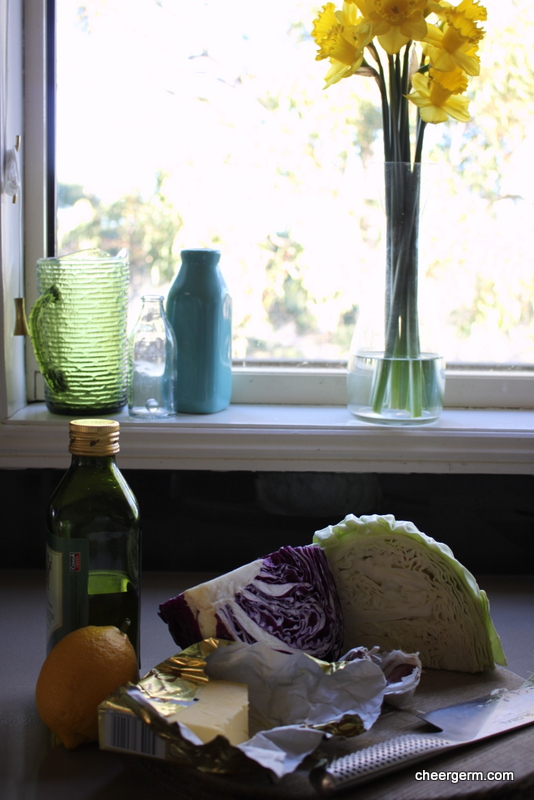
3 tbls olive oil
50g butter
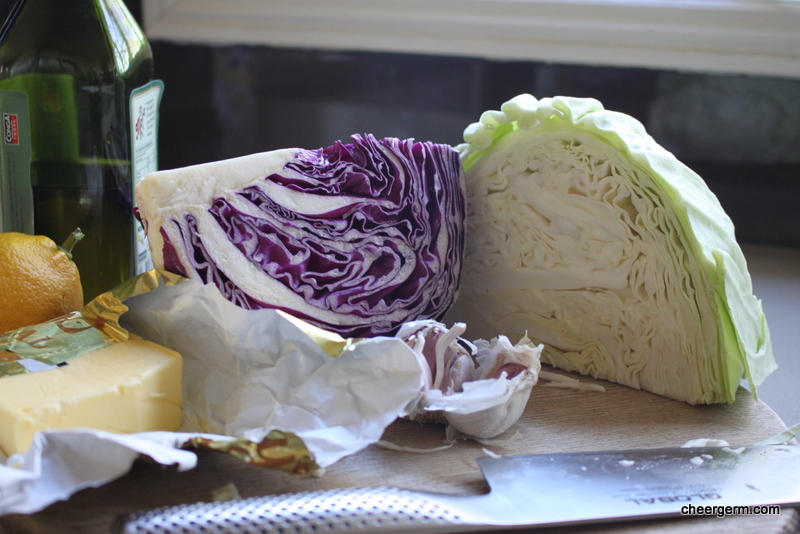
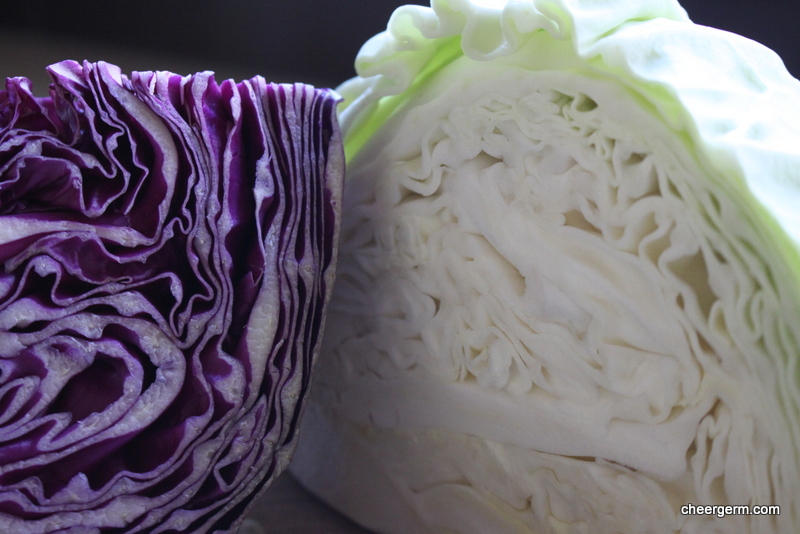
400g red cabbage, finely sliced
400g white cabbage, finely sliced
1 medium onion, finely sliced
2 cloves garlic, crushed
1/4 cup cold water
Salt and pepper
1/2 small lemon
HOW YOU DO IT
Heat a large frying pan on a medium heat then add the olive oil and butter.
Once the butter has melted, sauté the onion for a few minutes, then add the cabbage and stir until the cabbage is well coated with the butter and oil.
Add the garlic and cook for 1 minute, stirring continuously. Add 1/4 cup of water and bring to the boil then reduce the heat and cook, stirring occasionally for around 30 minutes until the cabbage is soft, tender and starts to caramelise. (If you want crunchier cabbage, just cook it for less time.)
Squeeze the half a lemon over the dish and season to taste with salt and pepper and serve alongside whatever your heart desires.
Cooking Notes:
I sometimes add 1/2 tsp caraway seeds with the garlic if I have them.
My hard taskmaster erstwhile editor (aka The Yak) wants me to explain the terminology ‘sauté’. Sauté means to cook quickly in a small amount of fat in a sauté pan or fry pan, over a medium to high heat for a short time.
A Cheergerm version of a dish that has been around a very long time