Yes, it may be a bit Pollyanna of me (for those of you who remember the book and movie) but I am single-handedly bringing back the word ‘glad’.
Somewhere along the way, the word ‘grateful’ has become incredibly popular. Leaving it’s less glamorous cousin ‘glad’ sitting sadly against the wall, not unlike an unwanted wallflower at a school dance.
Considering myself a champion for the unpopular, daggy and less than glamorous; I have popped ‘glad ‘ into my handbag of current and favourite words. It somehow speaks of a more refined time. It is not effusive, nor is it ‘in yo face’.
Intrinsically, both words have similar dictionary meanings.
glad: feeling pleasure or happiness, grateful, willing
grateful: thankful, feeling or showing appreciation
To be grateful or show gratitude is a little bit Hollywood. To be glad sounds more London Westend musical. The understated vibe of the word ‘glad’ brings to mind adorable pastel coloured 1950’s hats adorned with fake flowers. It harks back to a time when lads and lasses dressed impeccably in pinstriped boating attire and daintily nibbled on teensy weensy cucumber sandwiches. I will leave ‘grateful’ to the gushing vocabulary of actors swathed in sequinned gowns and pretending to chow down on miniature sushi handrolls topped with beluga caviar.
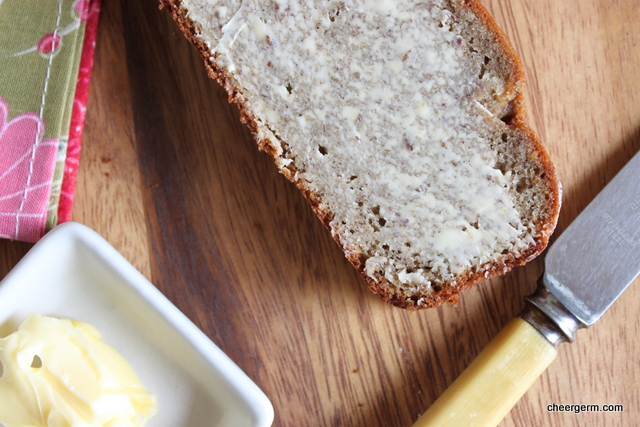
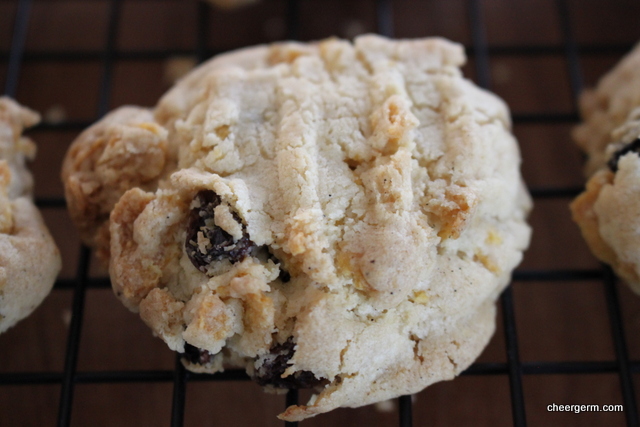
All in all, I am glad that I found this lovely biscuit recipe on the web. (Not a spiders web but the world wide version.) It didn’t turn out as I had thought. In my minds eye, I envisaged that these cookies would be crunchy but then I went and changed the recipe. (Only because I lacked some of the necessary ingredients.) Ordinarily, I would not post a recipe that could be deemed a failure but to us they were chewy, richly chocolate and unctuous. Less biscuit, more like a brownie or cake.
Strangely enough, our cornflake biscuit eschewing lads, adored these. Go figure.
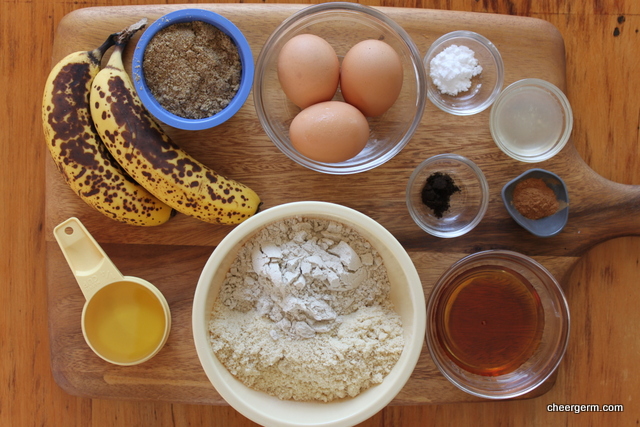
GLUTEN FREE CHOCOLATE FUDGE BISCUITS
WHAT YOU NEED
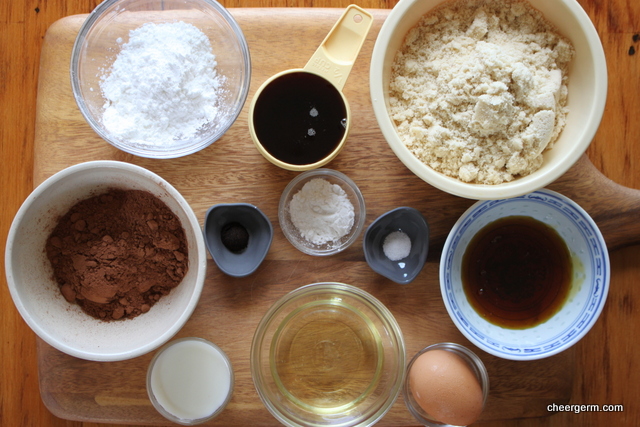
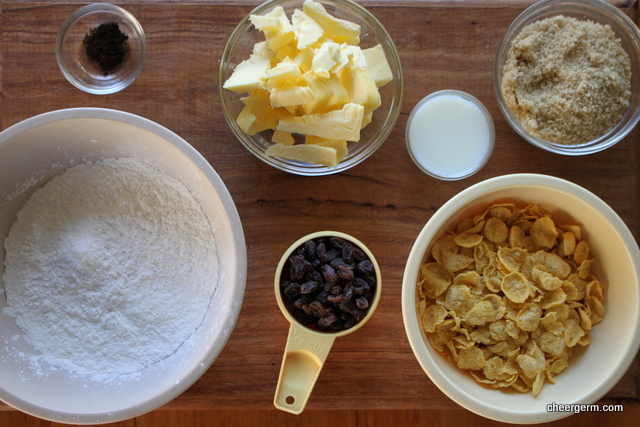
2 tbl grapeseed oil
1/2 cup maple syrup
1 egg
1/2 tsp vanilla extract (I used vanilla bean powder and added it in with the dry ingredients.)
2 tbl golden syrup
1 1/2 cups almond meal
1/4 cup plus 1 tbl Cocoa powder
1 1/2 tsps baking powder
3 tbl cornflour
A pinch of salt
1 tbl milk
HOW YOU DO IT
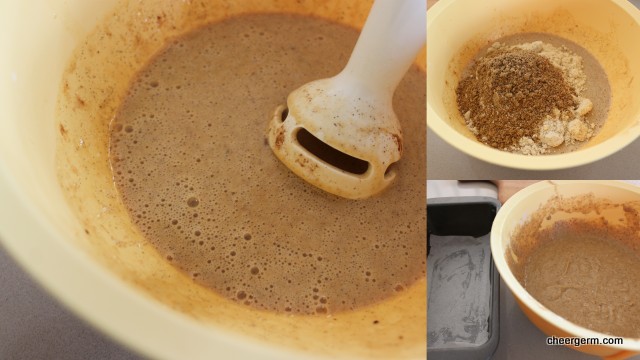
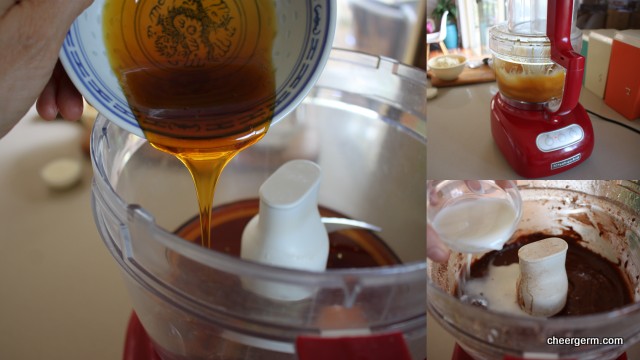
Place all the wet ingredients except for the milk into a food processor or blender and mix until combined.
Add in all the dry ingredients and mix until combined.
Add the milk and pulse until mixed through.
Place the mixture into a bowl and place into the fridge for a minimum of 30 minutes. (Mine was in there for 2 hours.)
Preheat the oven to 170C/350F and line two trays with baking paper.
Place large tablespoons of the mixture onto the trays leaving a gap of at least 3 cm /1 inch as they will spread. Place the trays back in the fridge for 15 minutes.
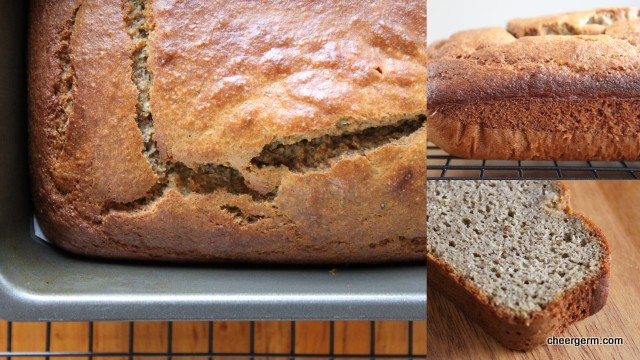
Remove the trays and place in the oven for 16-18 minutes, they will be slightly cracked on top. (Just like me…)
Cool on the tray for 5 minutes then remove to a wire rack for cooling. They will harden up a little as they cool.
Made 19 biscuits.
Very lightly adapted from a recipe from the Mummy Made blog. The link to the original recipe is provided after the photos.


 </a
</a