Our house was awash in tears on the morning I made this cake. Our mostly calm before school routine was offset by self-disappointment, childlike hurt and a more grown-up, deeper sadness.
All surfaces seemed awash with liquid. Bench tops, faces, cupboards and eyes reflected a watery glow. We were in fear of drowning. Even in the car, tears continued to flow and school drop off was a sombre and quiet occasion.
Upon returning home, I was relieved to see our house had not been swept into the valley and that Noah and his Ark were not loading our dogger friend, cockatoos and other assorted wildlife on board.
From the fruit basket these gem like, green, freely given, home grown organic limes greeted me. They went a little way to soothing my aching head and worn out from weeping eyes. They spoke to me in limey voices (‘hello guv’nor!’) of a sweet something, that would greet my citrus loving progeny upon their return from school.
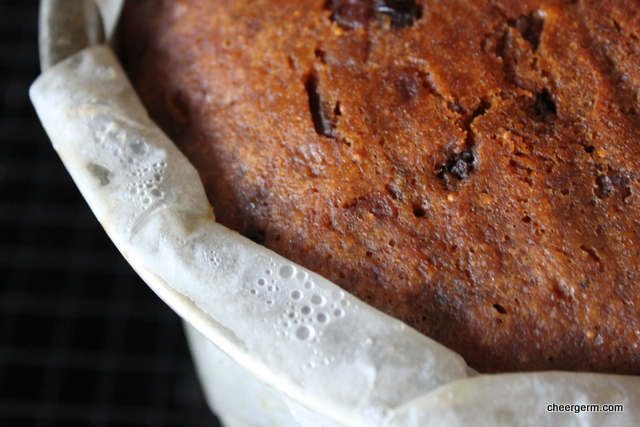
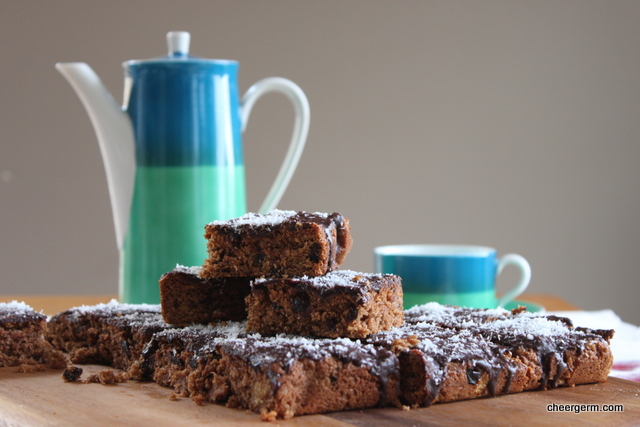
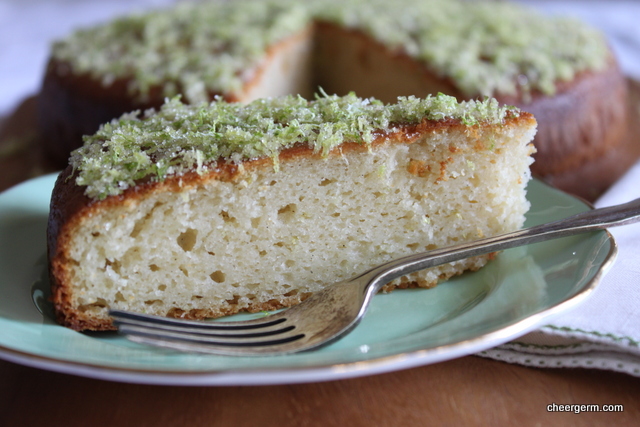
There is nothing like the smell of lime to put some pep in your step and allow a breath to be taken. This lovely cake is tangy from the citrus and Greek yoghurt with an extra fruity hit from the olive oil. The first recipe trial was fine, the second tweaked version you find here, is damned fine. And not a salty tear in sight.
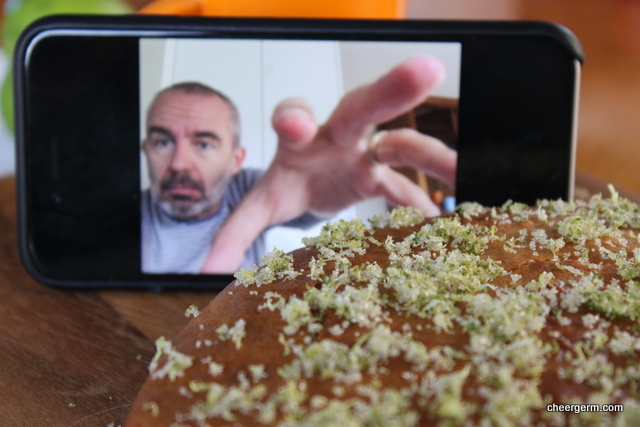
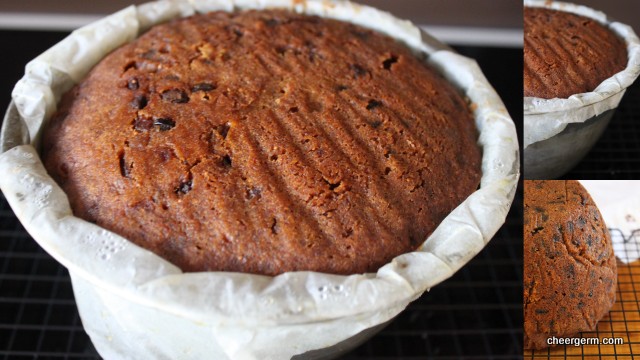
Note to self, never leave a cake and the camera alone with The Yak, not even for a moment.
GLUTEN FREE LIME, YOGHURT AND OLIVE OIL CAKE
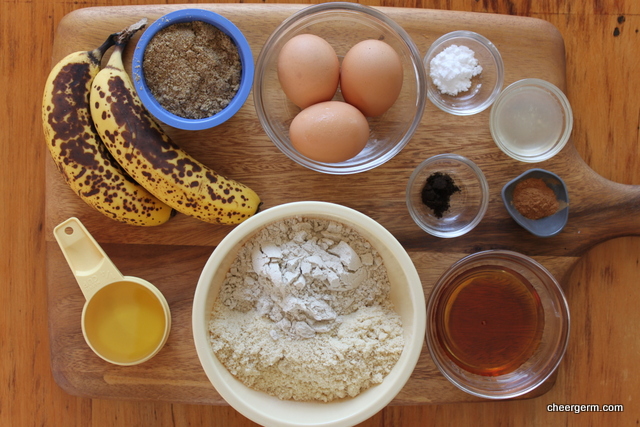
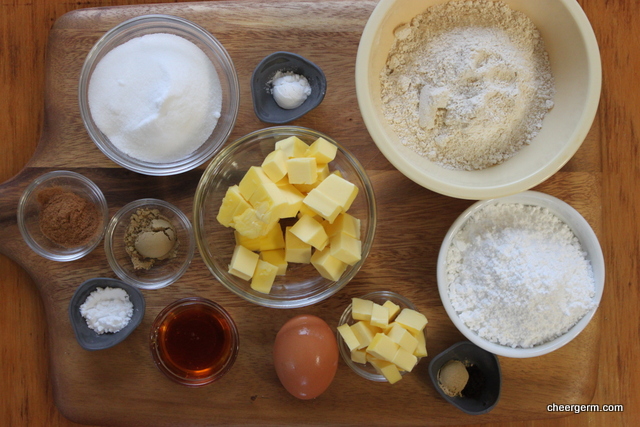
WHAT YOU NEED
1 cup full fat Greek yoghurt
2 eggs
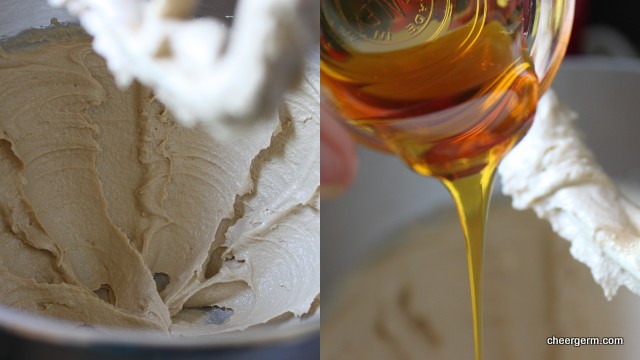
1/3 cup olive oil
1/4 cup lime juice (this is roughly the juice of one lime)
Zest of one lime
1/4 tsp vanilla bean paste, vanilla bean powder or 1/2 tsp vanilla essence
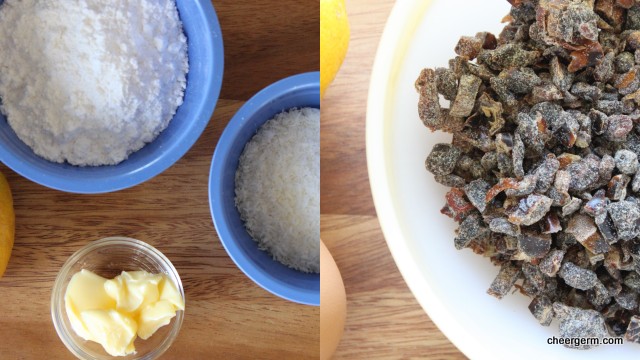
210g gluten free flour (1 cup/140g gf plain flour, 1/4 cup/40g almond meal, 1/4 cup/40g brown rice flour)
3/4 cup raw caster sugar (or white caster sugar)
1/2 tsp salt
2 tsps baking powder
Topping
1 tbl brown sugar (I used raw caster sugar)
1 tbl extra lime zest (I used the zest of one lime)
HOW YOU DO IT
Preheat oven to 180C and grease and line a 22cm springform tin with baking paper.
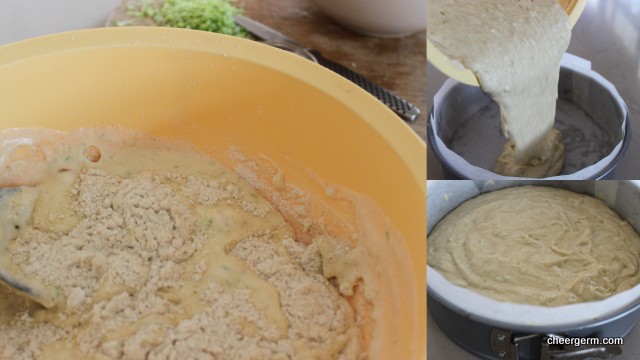
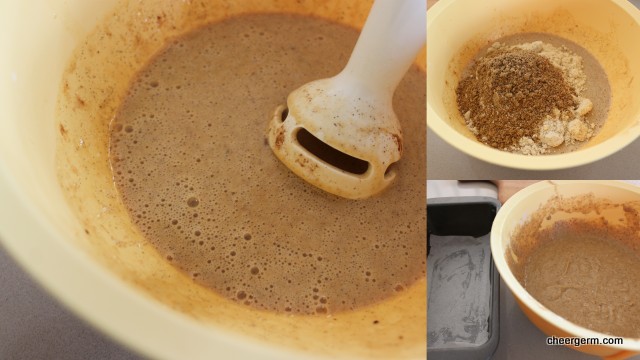
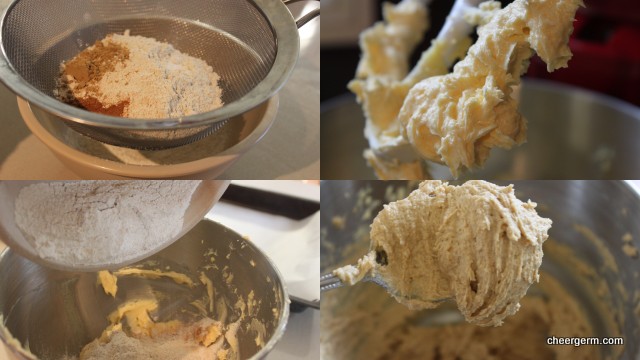
Mix all the wet ingredients including the lime zest in one bowl until well combined. (If using vanilla essence or paste add it here.)
Sift all the dry ingredients into a large bowl. (If using vanilla powder, add here.)
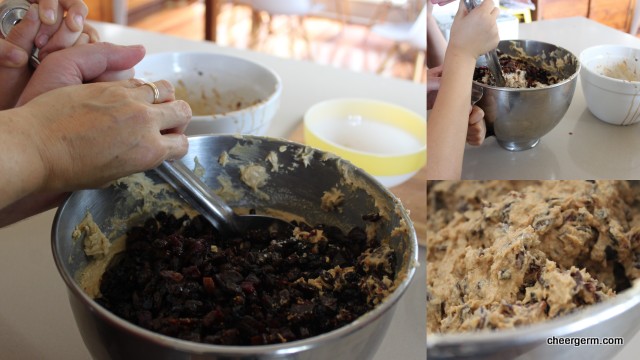
Pour the combined wet ingredients into the dry ingredients bowl and using a wooden spoon, mix until just combined.
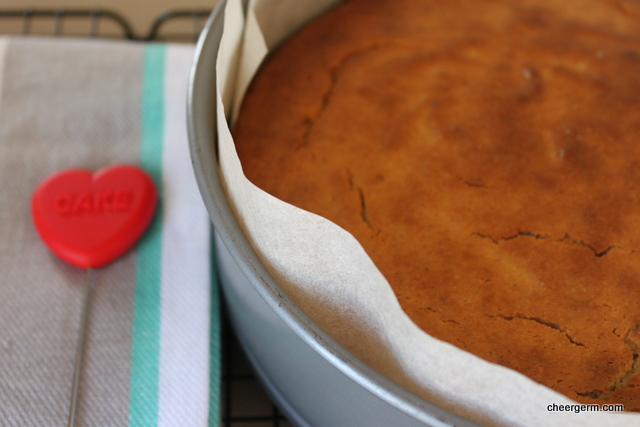
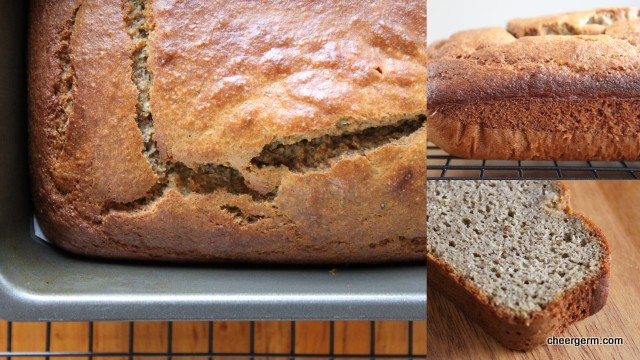
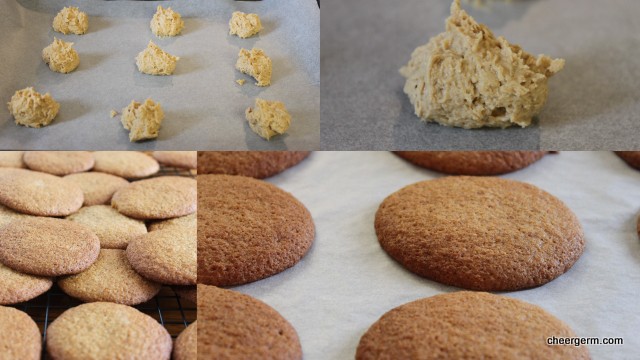
Pour into the prepared baking tin and cook for approx 40-45 minutes. The cake is ready when it has browned on top and a skewer inserted into the centre comes out clean.
Cool in the tin for ten minutes, then turn out and cool on a wire rack.
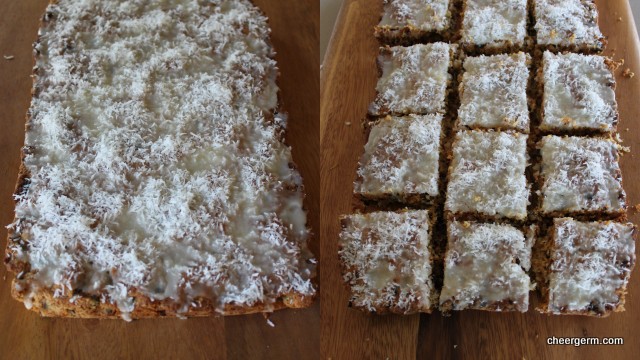
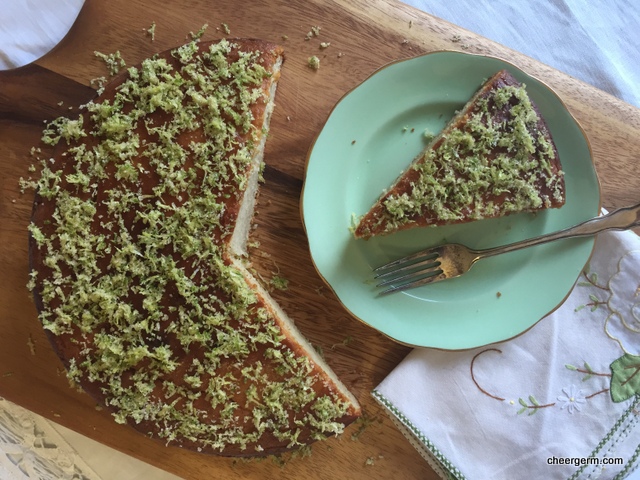
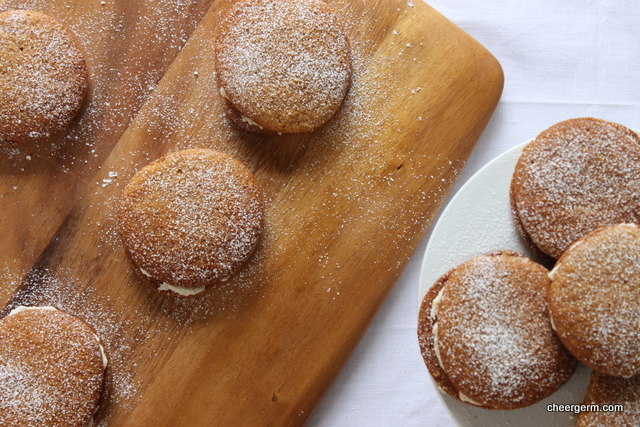
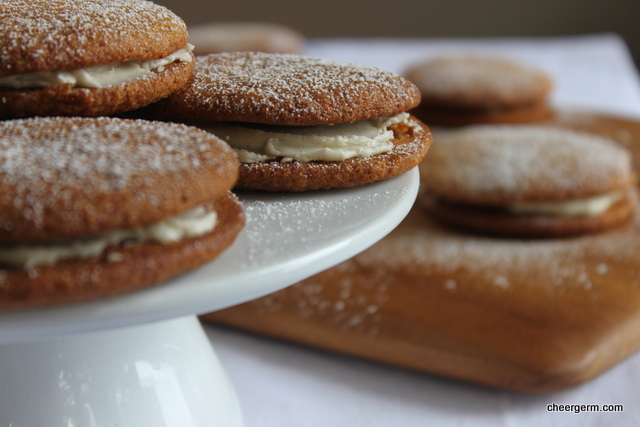
When the cake is completely cool sprinkle with the topping mixture. This is delicious served with a big dollop of yoghurt on the side.
Feel free to use lemons if you can’t find limes.
A Cheergerm adaptation of a recipe from the blog Souvlaki for the Soul which was in turn adapted from a Smitten Kitchen recipe.
http://souvlakiforthesoul.com/2011/05/lime-yoghurt-and-olive-oil-cake


 </a
</a