Nigh on three years ago, by perchance, we happened to move to a street that ‘does Christmas lights.’ Christmas and all that is associated with it, has always brought me great joy. My childhood memories, our ever evolving traditions, the special family time, the food (always the food), the spiritual connection, the wonder of children and the gift giving. However, the initial thought of having to buy (figuratively and literally) into the whole ‘lights’ palaver, filled me with trepidation.
The possibility of failing to live up to the expectation of hundreds of complete strangers traversing past our home was somewhat perturbing. I questioned the environmental aspect and whilst we do utilise solar lights as well as electrical, at some point, they will always need replacing. Not every house on the street participates, and there is no ‘Christmas Lights Committee’ (a fact for which the rebel in me is eternally grateful for.) In the end, the excitement of all the boys in our house overrode any misgivings on my part.
I often recount how in our second year, a person at my children’s school joyfully told me how much they loved our Chrissy light display. I asked which house they thought we lived in. Upon hearing their explanation of the abode they had seen, I informed them that sorry, that was actually our next door neighbours. (Ensue awkward silence on their part but some mirth on mine.)
Putting up a Christmas light display is strangely addictive and allows you connect to a community larger than your usual. It’s not all tinsel and sugar plum fairies. Shame on the man two years ago, who loudly dissed our display and almost made my then 6 year old cry. People, we aren’t deaf. Also, you lot out walking the street at eleven o’clock with small children on a school night? Go back to bed.
In the main, most people are positive and happy to enjoy the lights, in whatever shape or form they take. Apart from the joy it has brought to my own children and children we know, the absolute pleasure it brings to others has become our ‘Chrissy illumination raison d’être.’ Early one December evening, the lads wanted to eat their dinner in the garage. We plopped ourselves down on camping chairs, happily eating and watching the growing contingent of passer-bys. One mum walked past with two young children under five. Seeing us sitting there, she stopped waved and said, ‘Thank you so much for doing this, our children absolutely love it.’
Then, just last night, as we finally completed our display (after investing in quite a number of new lights), two families with small children passed by. One wee lad in their contingent stopped and in the slightly sibilant way that pre-fives talk, pronounced, ‘I love your house. Its sooooo beautiful. Mummy, why can’t we have a house like this?’ Then his sister spoke in a voice dripping with wonder and awe, ‘I think that Santa probably lives here’. Our hearts stopped beating for a nano second. Yes, cheesy it may be but their delight set our souls aglow more than any electrical or solar light could ever do.
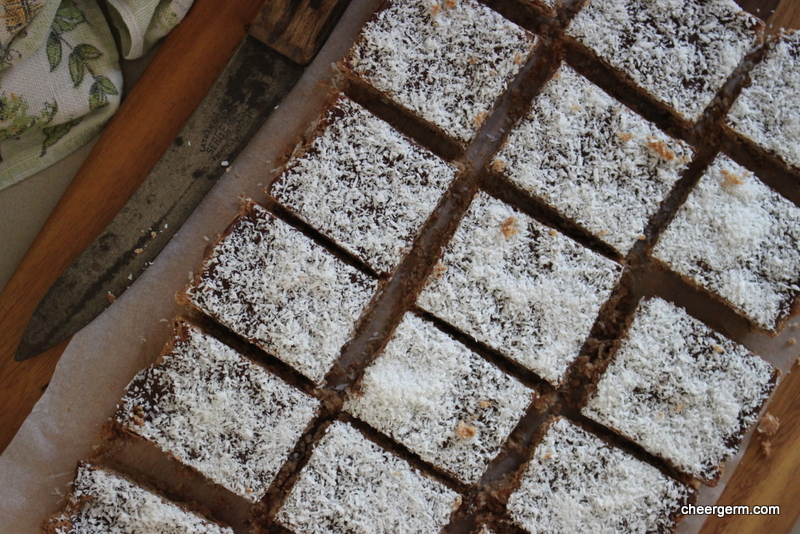
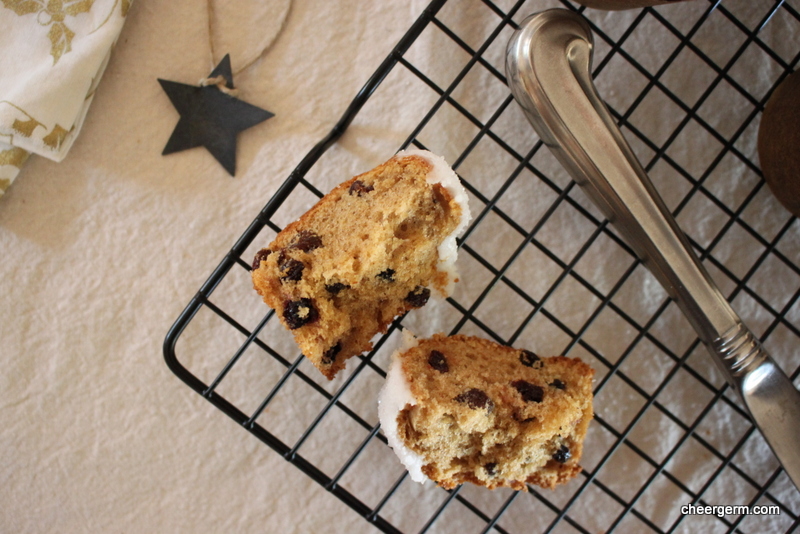
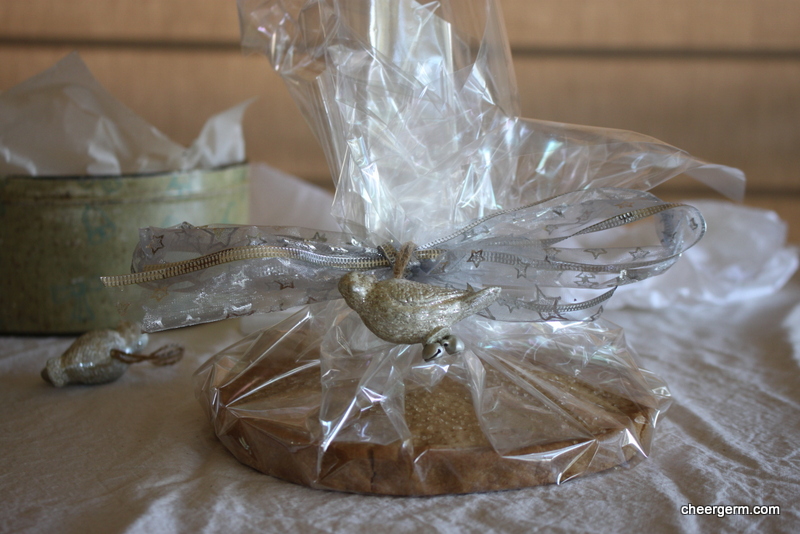
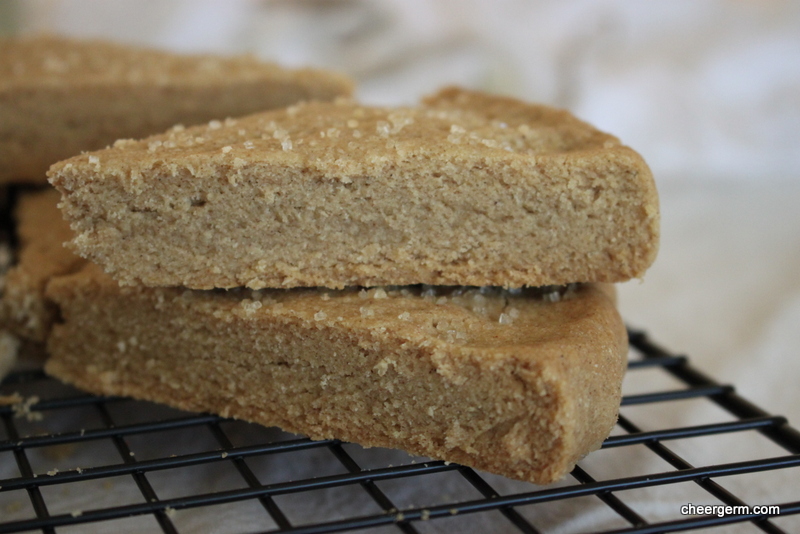
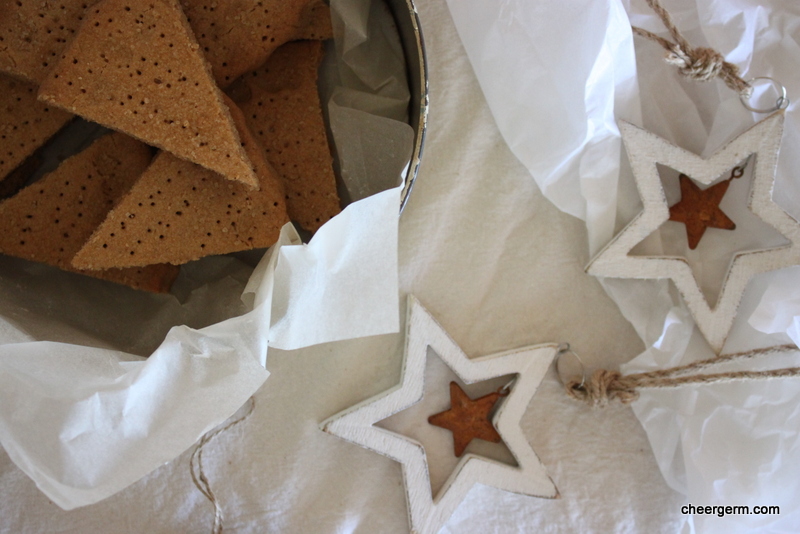
And that my friends, is why we put up lights. The world can always do with a little more illumination. The world can also do with a little more shortbread. This years concoction is a spicy, brown sugar version. The brown sugar adds a caramel-like flavour that pairs nicely with the cooling cardamom and warm cinnamon. This is one of those rare recipes where you can do a straight swap with the plain flour for gluten free. I lose track of how many batches of these biscuits are baked to give as gifts. They are either wrapped in cellophane or placed into adorable Christmas themed boxes. It seems a little nuts to be making butter based sweet treats in our hot climate, but then, some traditions just can’t be changed.
CARDAMOM, CINNAMON AND BROWN SUGAR SHORTBREAD (can be adapted to GF)
WHAT YOU NEED
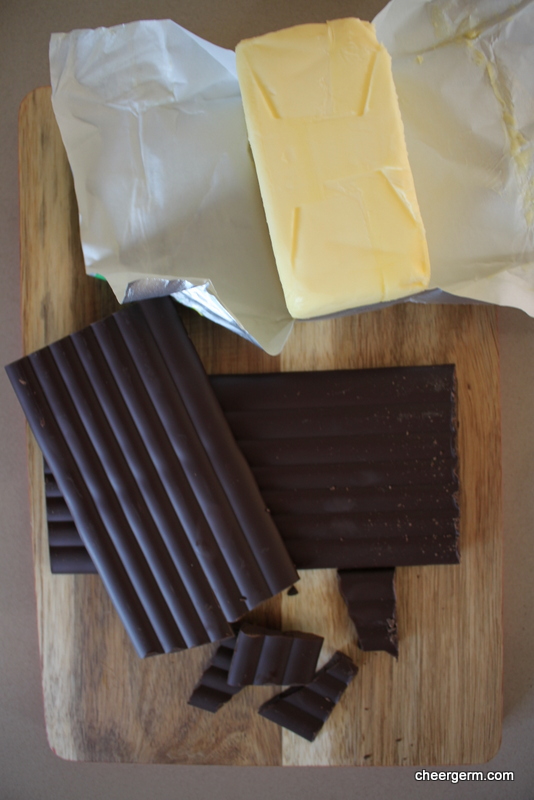
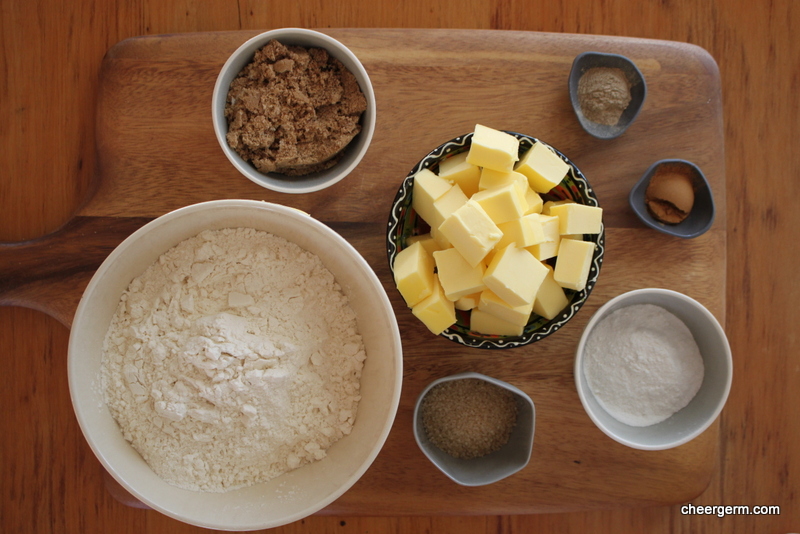
250g butter
1/2 cup soft brown sugar
2 3/4 cups of plain flour or gluten free plain flour sifted (I use a good quality gluten free flour.)
1/4 cup rice flour
1 1/2 tsps cardamom
1 1/2 tsps cinnamon
1 tbl raw brown sugar for sprinkling
HOW YOU DO IT
Preheat oven to 180C.
Line 2 baking trays with baking paper and sift the flours and spices together into a bowl.
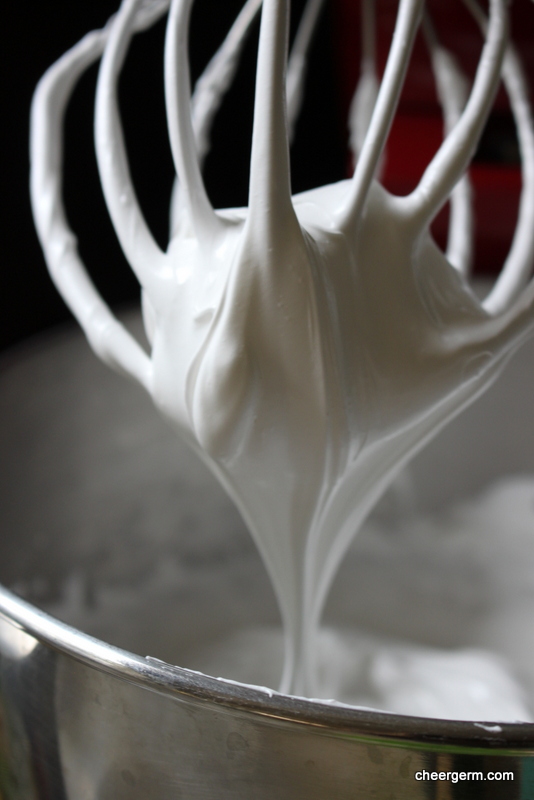
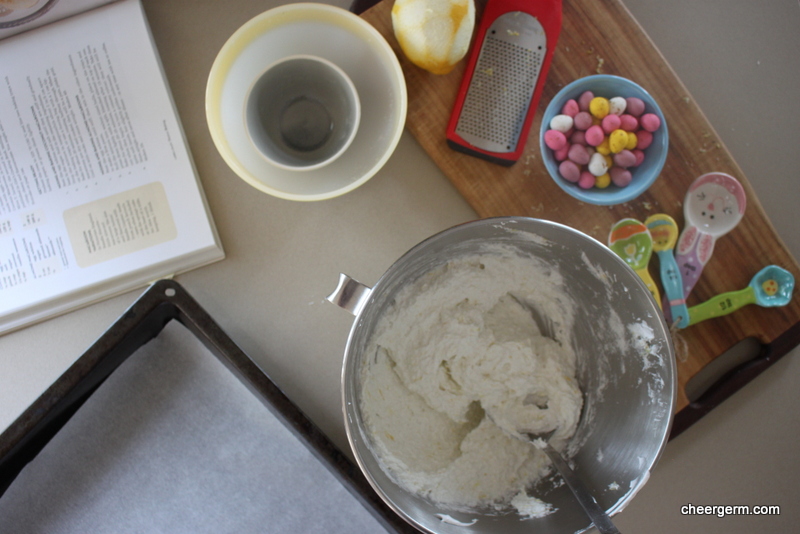
Cream the butter and add the sugar gradually (I used a stand mixer), beating until the mixture is light and fluffy.
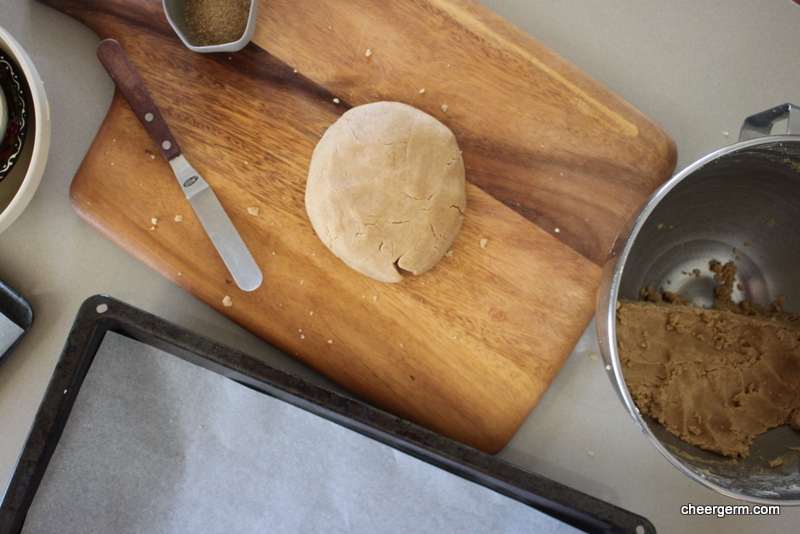
Work in the flour gradually until the mixture is just combined. Knead the mixture lightly to bring together to a dough. (I do this in the bowl.)
Divide the dough in half and pat each into a round.
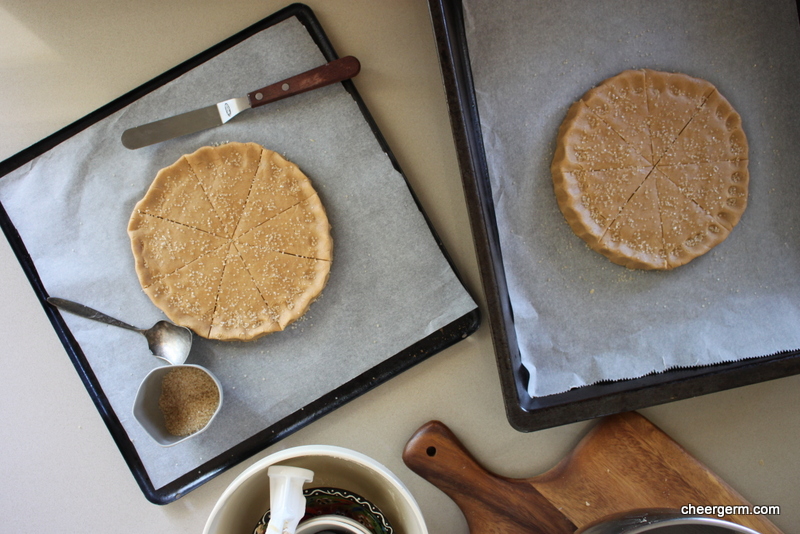
Place onto the prepared trays and with the heel of your hand, push the dough out until you have an 1 1/2 cm thick circle, this will be 16cm -18cm in diameter, ensure the mixture is very smooth. I use my hands to do this, the original recipe suggests using a palette knife and smoothing over the edge and surface.
Crimp the edges by pressing the edge of the dough with your finger, and then pinching the edge together.
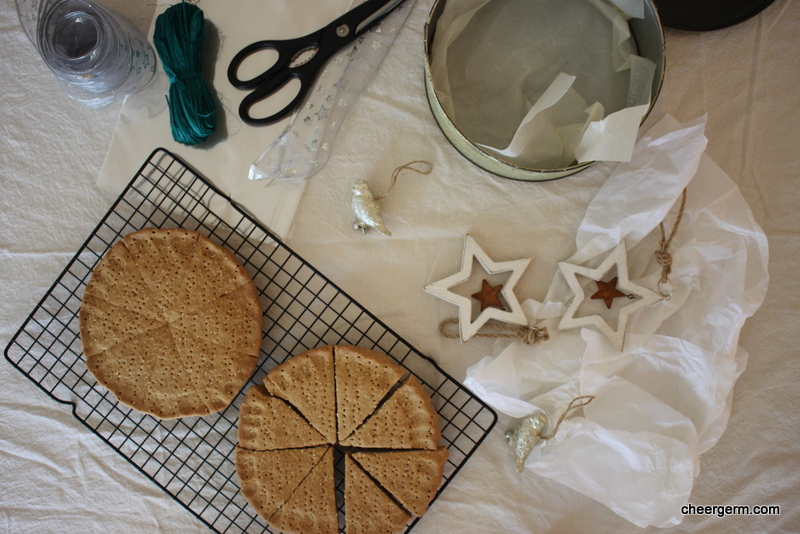
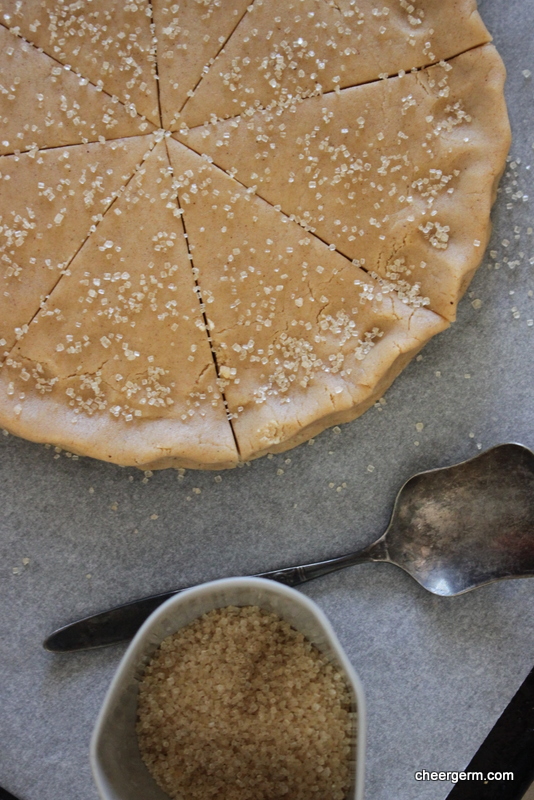
Use a sharp knife to cut the circle into 8 or 10 even shaped wedges. Prick the surface of the shortbread with a fork. (This helps in releasing moisture as it cooks, making the shortbread crisper.)
Sprinkle the extra raw sugar over the shortbread.
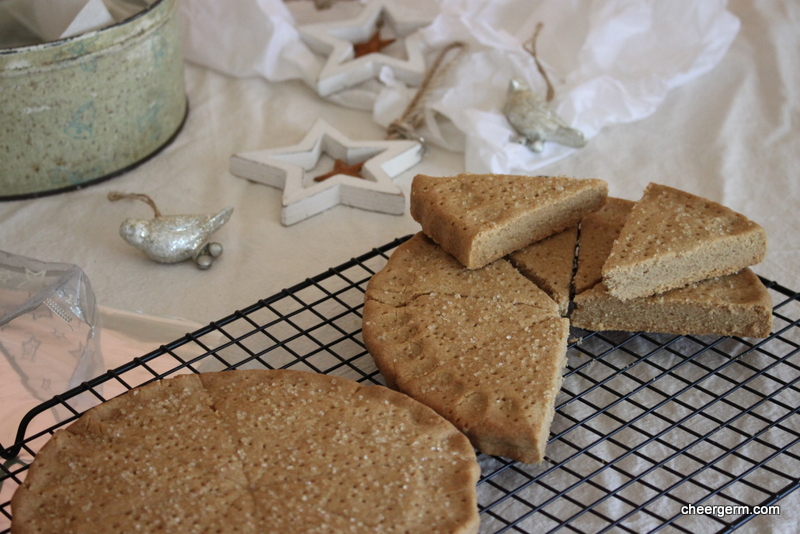
Bake in the centre of the oven for ten minutes then reduce the temperature to 150C and cook for about 30 minutes. The brown sugar in this recipe makes it difficult to judge if it’s baked, lightly press the middle of the shortbread to see if it’s not too soft. Should be firmish to the touch. My gluten free version took an about 35 minutes. It will depend on the flour blend that you use. (My first batch was a tad overcooked at 40 minutes.)
Cool down on wire racks. Wrap up festively and give to your best people, and eat some, always eat some.
A Cheergerm adaptation from The Margaret Fulton Cookbook 2004 Revised and Updated Edition published by Jannie Brown and Suzanne Gibbs.


Here are the links to my previous shortbread recipes.
Christmas advent calendars and cranberry chocolate pistachio shortbread
Shortbread for Christmas
Shortbread for a hungry Silly Yak
Chocolate ginger spelt shortbread