Let’s make this clear, it’s entirely my own fault. A little while ago, I purchased our two young lads the soundtrack to the movie Frozen. This Cheergerm adores musicals, loves them in fact. (Repeat after me, life IS a musical.) However, after one solid week of hearing the song ‘Let It Go’ over and over again (whilst they play sword fights), I have one small sentence.
Please, let me go….
Which brings me to this dessert I baked last weekend for company. (How very Little House on the Prairie of me). I had made a banging Osso Buco in my stupid slow cooker that I may or may not be getting the hang of. I have an ongoing love affair with my Le Creuset cast iron casserole dish and using the slow cooker feels somewhat like cheating on one’s husband. (It’s an emotional topic we shall save for another place and time.)
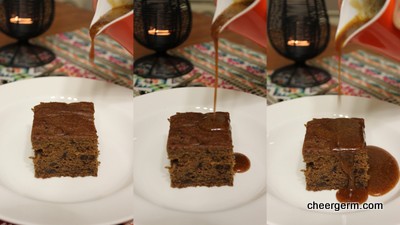
It was bloody freezing, so what better way to end a meal on a brass monkey kind of night, than with sticky date pudding? Cheergermed of course.
This pudding was light and airy, and it must be said, one of my happiest and most raved about gluten free desserts thus far. Due to extreme pudding hunger (pudger?) I rushed the sauce and didn’t caramelise the sugar and water enough. Hence, when I added the cream and butter, it turned an insipid white creamy brown. Panic set in, (not helped by the glass or two of sparkling Shiraz that may or may not have been consumed.) The peanut gallery, aka Sister number 3 and Mancurian bro-in-law shouted in rough tavern-like voices, ‘add brown sugar’ and ‘add treacle!’ ‘Eureka’ I yelled, ‘I shall add organic molasses!’ So I whacked a tablespoon of that crazy, unctuous goo into the sauce. Disaster averted.
It was good and they ate.
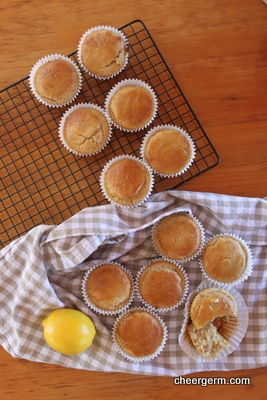
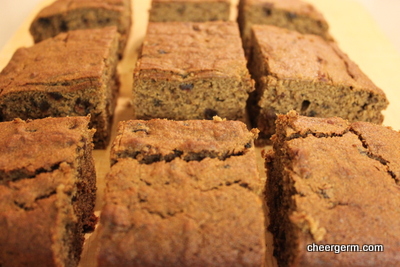
Gluten free sticky date pudding
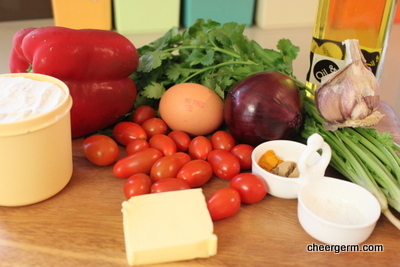
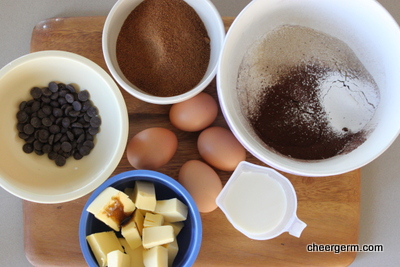
WHAT YOU NEED
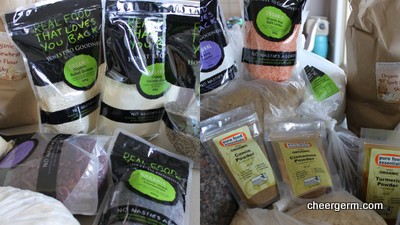
1 1/2 cups dates, pitted and finely chopped (note my awesome 5kg bag of chopped dates is really coming in handy)
1 tsp bicarbonate soda
1 cup boiling water
100g sorghum flour
50g buckwheat flour
30g almond meal
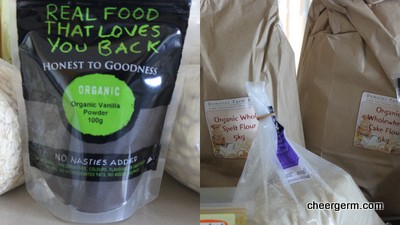
1/2 tsp vanilla powder (or 1 tsp of vanilla extract if you don’t have this)
1/4 tsp xanthum gum
75g butter softened
3/4 cup brown sugar (or rapadura or coconut sugar)
2 large eggs
Caramel Sauce
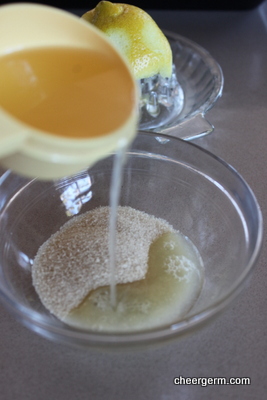
2/3 cup raw caster sugar
1/3 cup cold water
1 cup thickened cream
20g butter
HOW YOU DO IT
Preheat oven to 180C (160C fan forced.) Grease and line the base of a 20cm square cake pan.
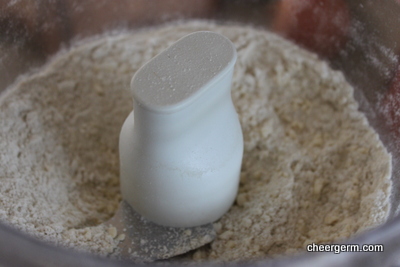
Combine the dates and bicarbonate of soda in a medium bowl and pour the boiling water over. Set aside whilst preparing the cake batter.
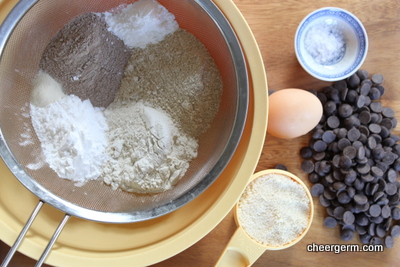
Sift the sorghum flour, buckwheat flour, almond meal, vanilla powder and xanthum gum into a large bowl.
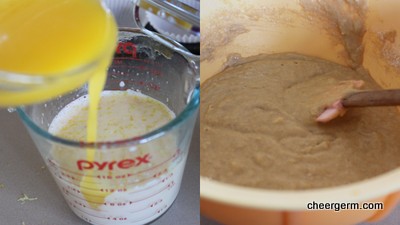
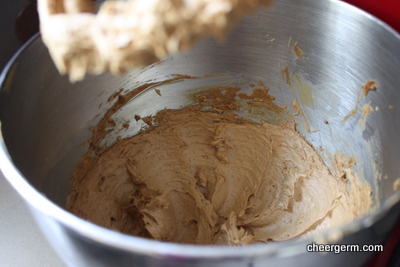
Cream the butter and sugar into a medium bowl until light and fluffy. Beat in eggs one at a time (if you are using vanilla extract instead of vanilla powder, add it here.)
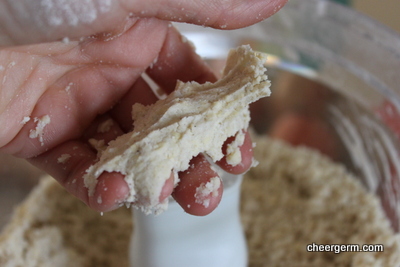
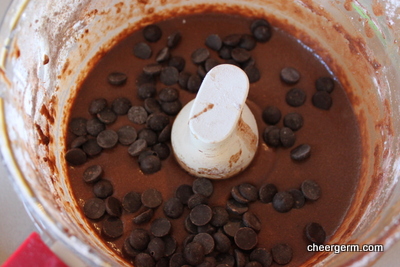
Fold the flour mixture into the butter mixture then stir through the date mixture until smooth.
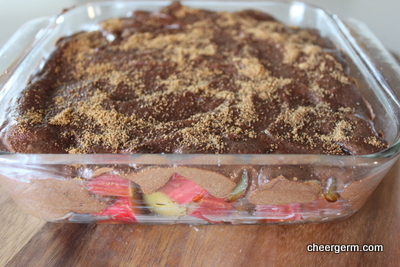
Pour into the cake pan and bake for 30 minutes or until golden and cooked through. Stand in pan for 5 minutes then remove to a rack.
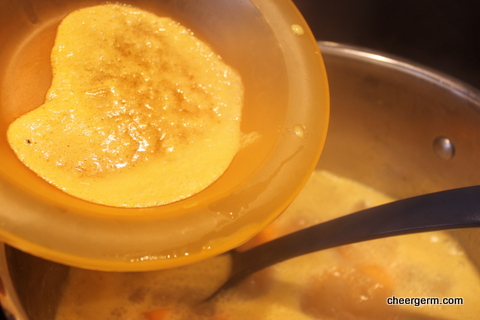
Caramel Sauce
Place sugar and water in frying pan. Swirl until sugar has melted.
Bring to a boil and cook until the mixture is a deep, golden caramel colour, about 4-5 minutes.
Remove from heat and whisk in the cream and butter, whisking until smooth.
Return to heat and simmer, whisking for 2 minutes or until thickened slightly and is a rich, caramel colour. (It was at this point I added the tablespoon of molasses but hopefully, you won’t need to!)
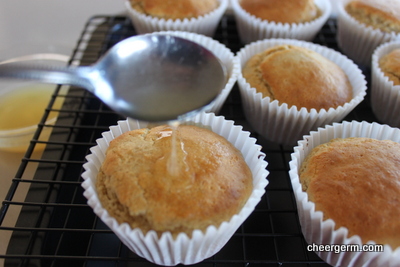
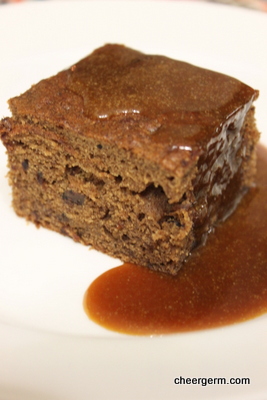
Slice cake into squares and drizzle over sauce. Serve with cream or ice-cream if you so desire.
A Cheergerm Adapatation of a recipe from the Coles website, see after photos for the link.


http://recipes.coles.com.au/recipes/1677/gluten-free-sticky-date-pudding-with-caramel-sauce/