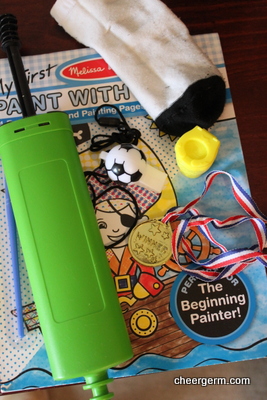
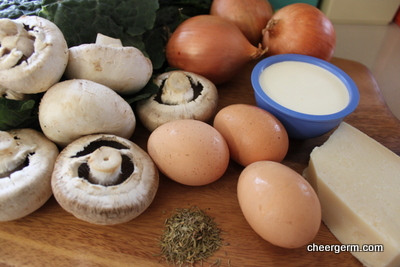
Living with small children means that you may find particular accoutrements of childhood in your bedroom.
Definition of a grown up bedroom : The place where the so called ‘magic happens’. (Yeah right.) A serene escape from the world, lush with soft furnishings in soothing contemporary prints. Flickering soy candles abound and the room is resplendent with enough Europeans pillows to well, make a European happy. (Not a husband as they will defiantly and often state ‘I hate all these cushions, they have no effin point anyway.’)
In our boudouir today I found:
A bicycle pump, a small soccer whistle, a paint with water book, a pretend plastic childrens winner medal, one grotty little boys sock and a teeny tiny plastic toilet.
The magic that happens in our bedroom is ‘how the hell did this crap get here and why?’
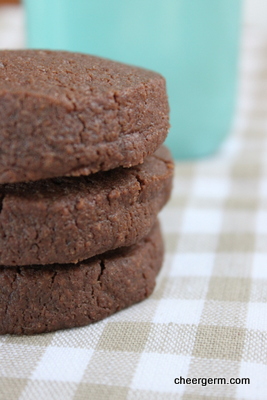
The other magic that happens in our household is how quickly tasty treats can be gobbled up by said small children. Especially Kid 1 who eats as if he is part of a family of ten and is afraid of missing out on his fair share.
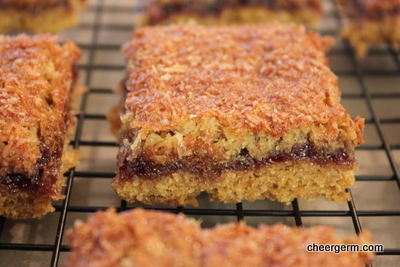
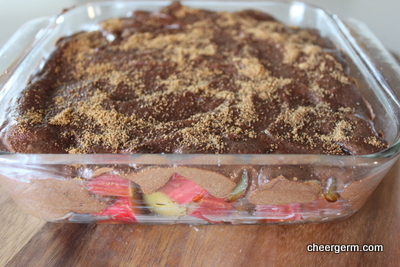
This slice is one of those goodies, an old school New Zealand classic comprising of a thin layer of biscuity cake (or is that a cakety biscuit?), a sandwich layer of tart jam, topped off with another thin layer of coconut meringue. I have no idea who Louise was but man, that chick had it going on in the ideas department.
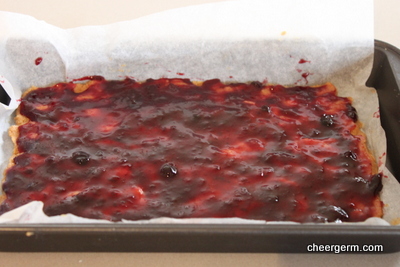
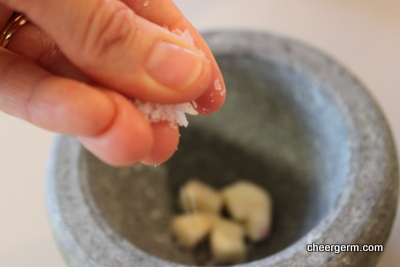
My memory could be playing tricks but a hazy recollection of this slice oozing with homemade apricot jam in the middle, is knocking around the old brainbox. The original recipe has been slightly cheergermed by using wholemeal spelt flour, raw sugar and knocking back the sugar quantity a tad.
Unfortunately, the cupboard was bare of home made jam, hence, store purchased jam was used. Some of Mums homemade stuff would have been like, totally ace. (Mum??)
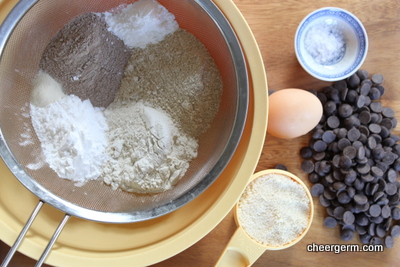
LOUISE CAKE
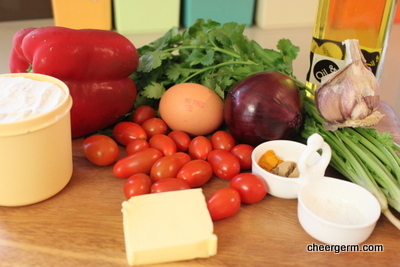
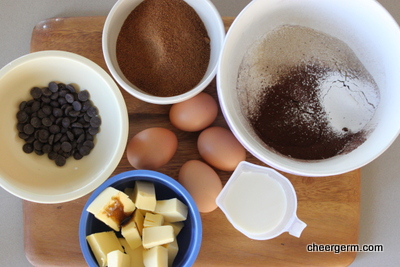
WHAT YOU NEED
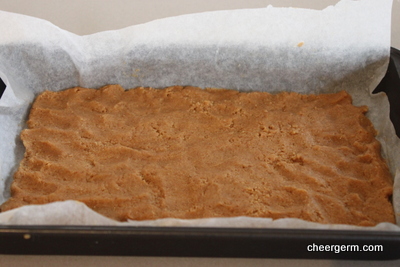
Base
70g butter, room temperature
55g sugar (panela, raw caster sugar, rapadura)
2 egg yolks
1 tbsp lemon juice
150g wholemeal spelt flour
1/2 tsp baking powder
Topping
4 tbsp raspberry or tart red jam
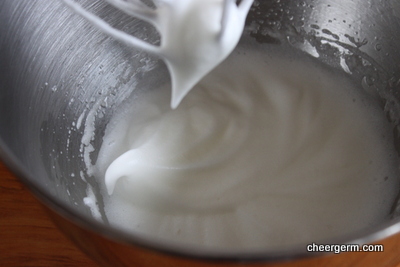
2 egg whites
80g sugar (I used organic panela, an unrefined sweetener made from evaporated sugar cane juice)
55g desiccated coconut
Extra coconut for sprinkling
HOW YOU DO IT
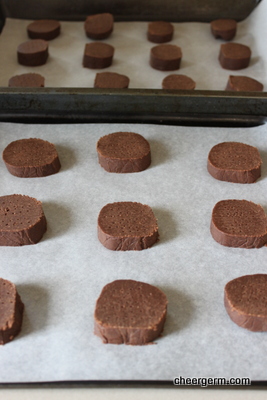
Preheat oven to 170 and line a shallow 30 x 21 cm or 12 x 8 inch tin with baking paper.
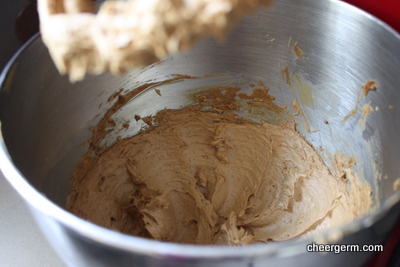
Cream the butter and sugar together until light then beat in the egg yolks and mix thoroughly.
Add the lemon juice, then sift in the flour and baking powder and mix to a firm dough.
Press the dough evenly into the prepared tin and spread over the jam. You don’t need a thick layer.
Beat the egg whites until stiff then gently fold in the caster sugar and the coconut using a metal spoon. Spread carefully over the jam, trying to keep an even thickness. Sprinkle with a little more coconut.
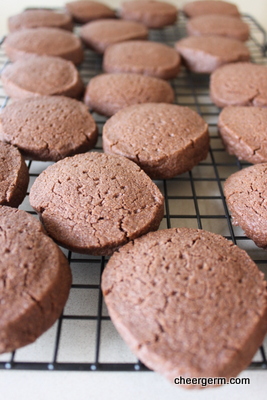
Bake for about 25-30 minutes until the coconut is just turning a golden brown. (As I used raw sugar, it does get a bit browner.)
Remove from the oven and cut into squares whilst still warm.
Store in an airtight container, makes 12 squares.
Recipe slightly adapted from ‘Ladies: a Plate.’ By Alexa Johnston