Funny how life can come full circle. Things from childhood, that in your teens and early twenties seemed so passé, suddenly become desirable or enjoyable.
One particular blast from my past, has always left me stone cold. The sunflower seed and its hippy chicky cohort, the pumpkin seed or pepita, as it is also known. Mum tried to sneak those little buggers into everything. Little parcels of them appeared in our lunch boxes, whereas other lucky children may have scored a chocolate teddy bear biscuit. They also crept into cookies, cakes, salads, breakfast cereal (not really but I bet she would have if she thought she could have.) These wee kernels stood for everything that, at the time, I totally didn’t get. (Physically and metaphorically.) Homemade, nutritious food in abundance, when all I really wanted was a store bought white bread tomato sandwich. And a Mars Bar.
Our parents grew radiantly yellow sunflowers in our garden and we watched with fascination as they grew tall, blossomed and withered. We would watch their seeds darken, harden and grow as the flower matured. They also grew pumpkins, in varying shapes and sizes. Not even these living miracles convinced me it was natural to consume their kernels.
For many years I have staunchly withstood the squeaky siren call of the sunflower seed. Until that fateful day, when the decision was made to throw together a gluten-free granola for The Yak. Packets of those grey and green coloured things were purchased. After a good toasting, there was a tasting (because a good cook should) and guess what? I liked them. I really liked them.
Full circle. Sorry Mum.
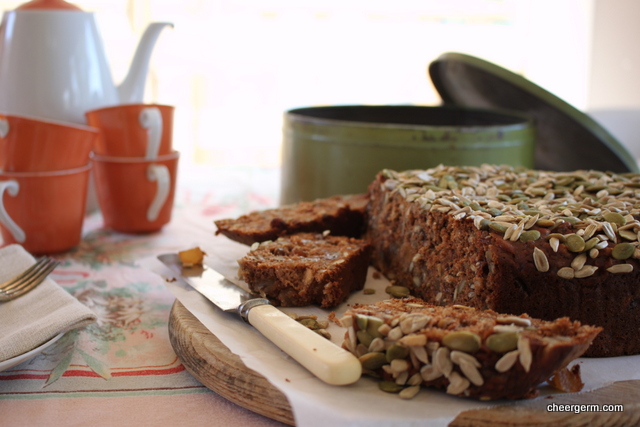
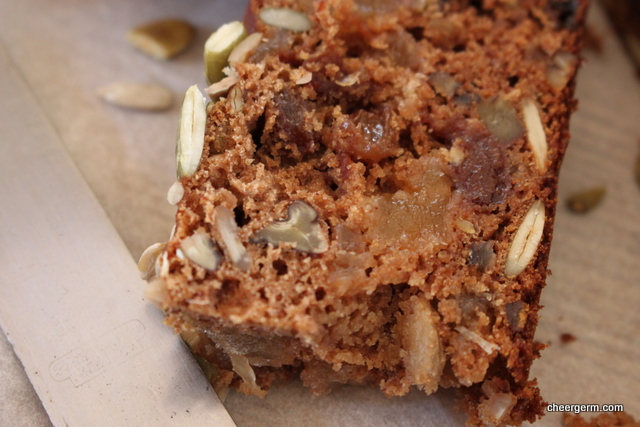
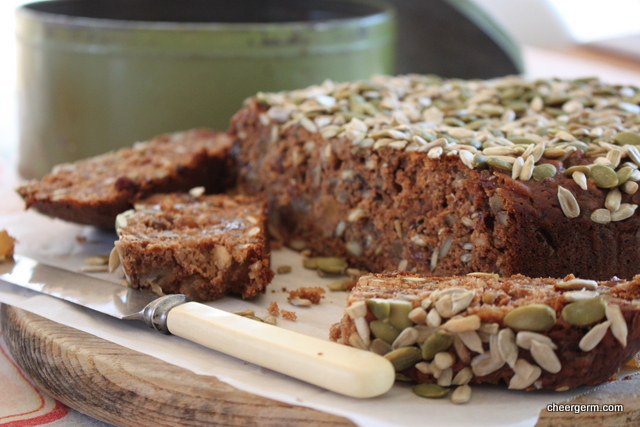
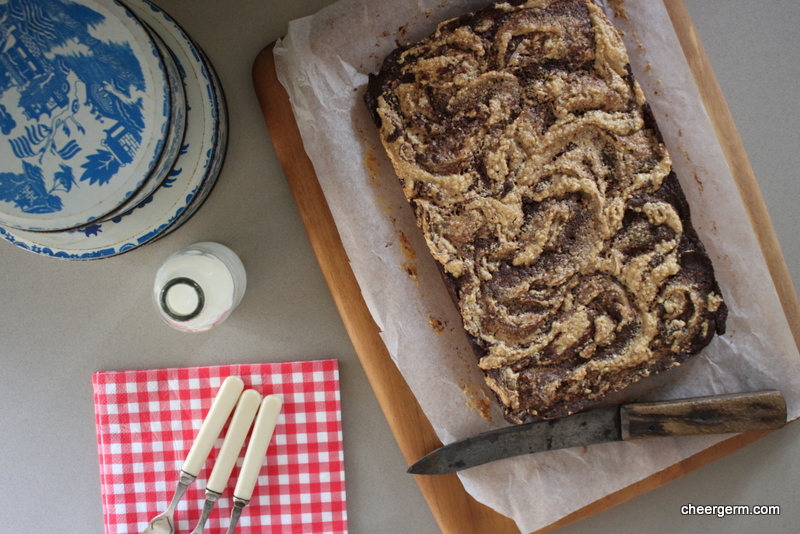
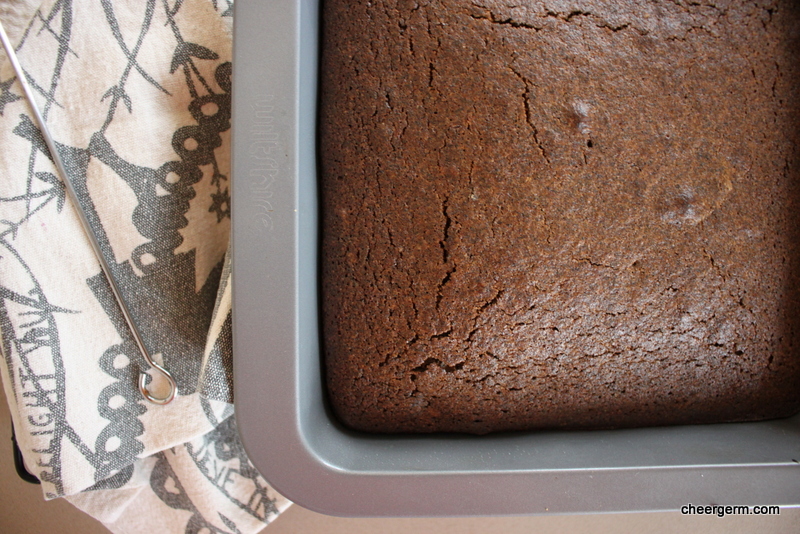
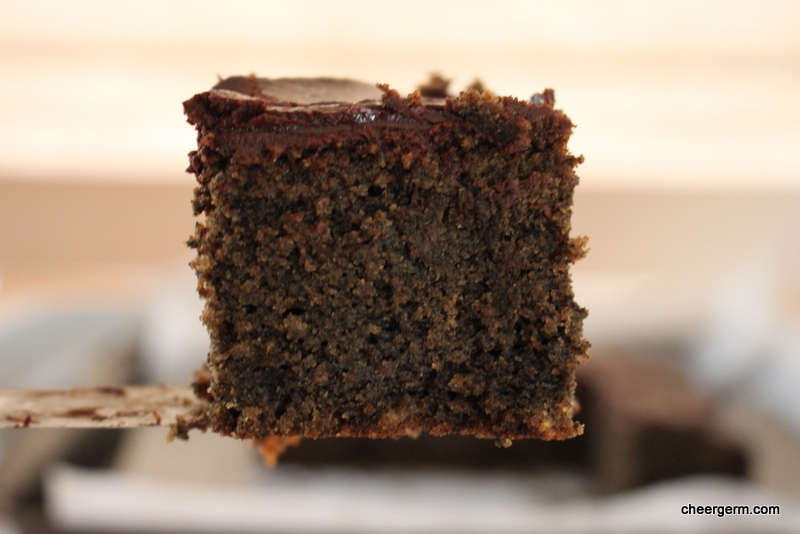
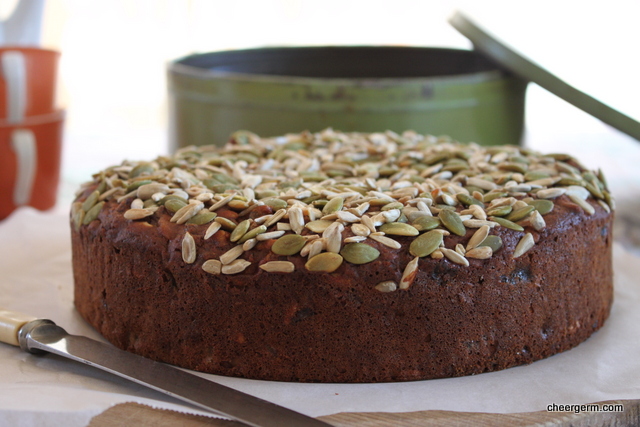
This gluten-free recipe is from The Gluten-free Kitchen cookbook by Sue Shepherd. It is definitely what you would classify as a ‘health cake’ and The Yak (self-proclaimed taster) and cohorts have all proclaimed it as a toothsome and moreish concoction. Dense and fruity with an intense blend of cinnamon, nutmeg and cloves that will make your head spin. This cake is savoury, earthy and studded with a plethora of seeds and nuts. A small piece goes a long way and your body will thank you.
FRUIT, NUT AND SEED CAKE, GLUTEN FREE
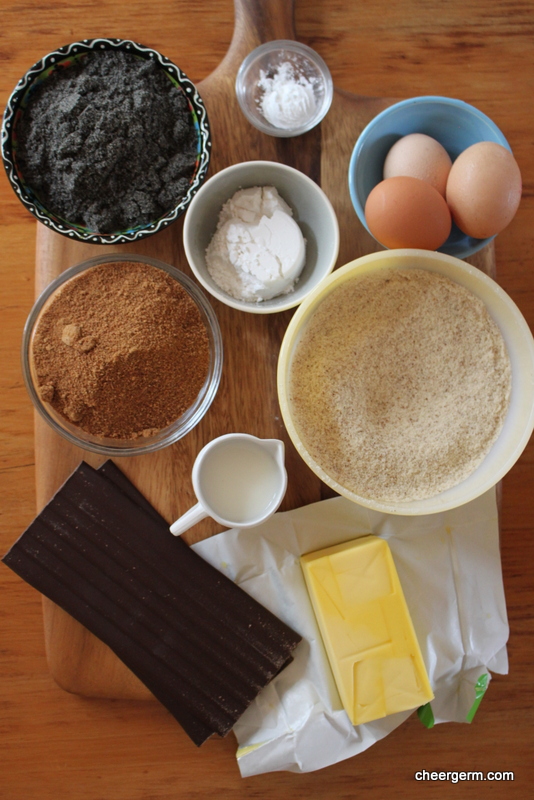
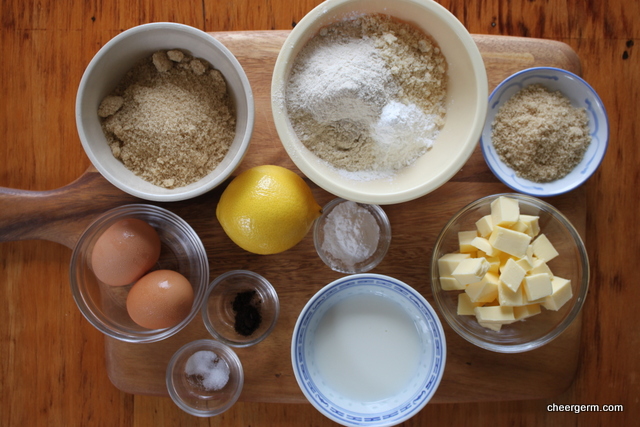
WHAT YOU NEED
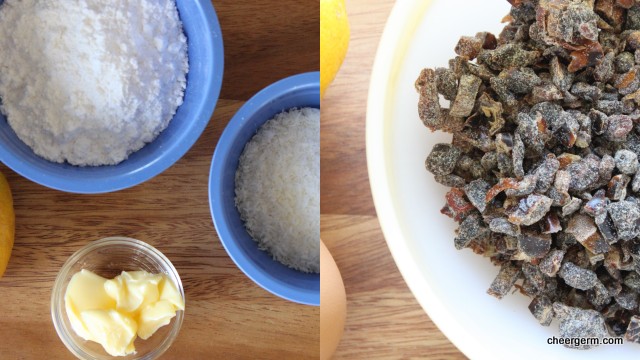
1/2 cup sultanas
1/2 cup tart dried cherries chopped, (or raisins, I like the sourness of these cherries.)
1/2 cup glacé pineapple (125g), chopped
1 tsp ground cinnamon
1/2 tsp ground nutmeg
1/2 tsp ground cloves
30g butter
1/2 cup caster sugar
140g brown rice flour
90g buckwheat flour
2 tsps gluten-free baking powder
1 tsp bicarbonate soda
1/4 tsp salt
1 tbl ground flaxseed or 1tsp Xanthum gum. Both are optional but I used flaxseed.
3 eggs, lightly beaten
3/4 cup pecans, chopped
1/2 cup sunflower seeds
1/2 cup pumpkin (pepita) seeds
3 tbls sunflower seeds, extra for sprinkling
3 tbls pumpkin (pepita) seeds, extra for sprinkling
HOW YOU DO IT
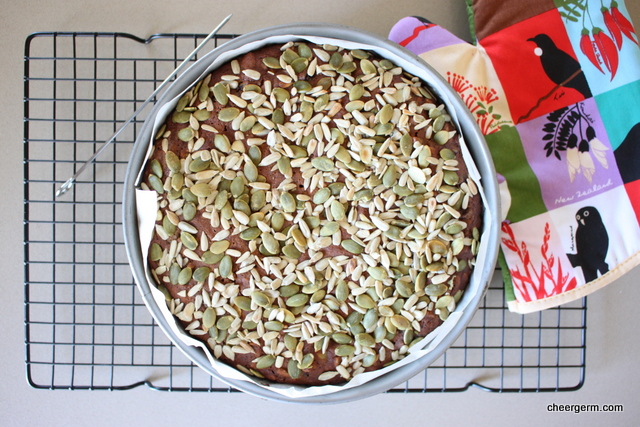
Preheat the oven to 160C. Grease a 20cm springform cake tin and line with baking paper.
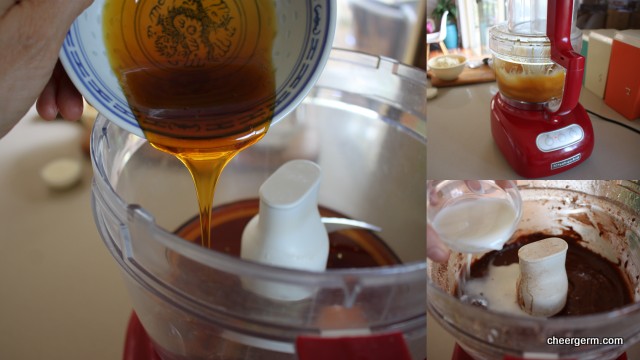
Combine the sultanas, cherries (raisins), pineapple, cinnamon, nutmeg, cloves, butter and sugar and 1 1/4 cups water in a medium saucepan over medium heat. (Smells like Christmas when the fruit is cooking.)
Stir until the sugar has dissolved , then increase the heat and bring to the boil.
Boil for 1 minute, then reduce the heat and simmer for 2-3 minutes. Transfer the mixture to a large bowl and cool to room temperature.
Sift the flours, baking powder, bicarbonate of soda and flaxseed/Xanthum gum (if using ) into a bowl. Repeat this process three times to ensure they are well combined. Or whisk really, really well.
Add the eggs, pecans, sunflowers seeds and pumpkin seeds to the cooled fruit mixture, then stir in the sifted flour mixture.
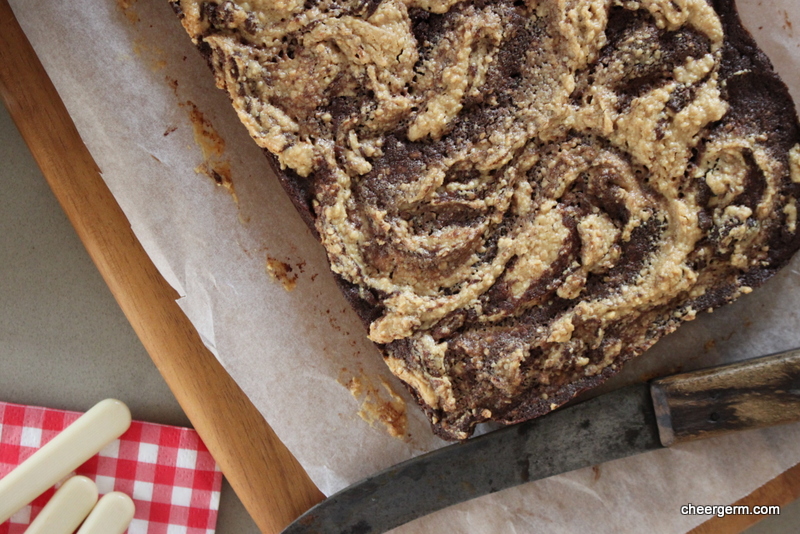
Pour into the prepared cake tin and sprinkle the extra sunflower and pumpkin seeds on top. Cover with foil and bake 50 minutes, then remove the foil, rotate the cake tin and bake for a further 10 to 20 minutes or until a skewer inserted into the centre of the cake comes out clean.
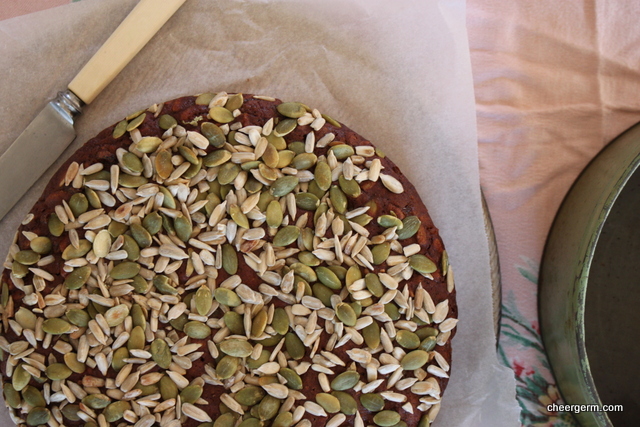
Remove onto a wire rack, let the cake sit in the tin for 15-20 minutes, then remove carefully onto the wire rack and let cool completely.
Store in an airtight container.
COOKING NOTES
If allergic to nuts you could substitute the pecans with extra dried fruit and seeds.
Rotating the cake tin ensures more even baking.
I have also been reading about about grinding sunflower seeds in a spice blender or NutriBullet type doohickey, and adding them to baking. Kids, watch out.
Recipe from The Gluten-free Kitchen by Sue Shepherd. Published by Viking, Penguin, 2009. (With one or two minor changes.)