Some people are irrevocably part of your childhood fabric, the person who gave me this scone recipe is one of those people. Not long after we moved to Melbourne from New Zealand, over forty years ago now, I made friends with a wee red-headed energetic lass at our local primary school. Her mum’s name was Pamela and as time went on, our Mums became friends and our families became close. In many ways, they were our Australian family. Patching a hole that had been left from leaving loved ones behind in The Land of the Long White Cloud.
Pam’s parents were Dutch, she had beautiful high cheekbones and a European sensibility. She was strong, funny, fierce, kind and possessed a bullshit radar like no other. As well as raising a family, she ran a catering business from home using the classical cooking skills she had acquired in a cordon-bleu cooking course. I remember sitting on tall stools on the other side of her tiled kitchen bench. Shiny copper jelly molds decorated the walls and I watched with quiet amazement as she deftly chopped vegetables with a skill I had never seen before, made pastry or prepared hor’douevres for upcoming catering gigs. (Oysters atop black pumpernickel bread spread with green butter, being one of them. It was the late 70’s.) Alongside my own Mum’s passion for healthy, fresh produce and good home cooking, watching Pam in the kitchen deeply influenced me in a way that I wasn’t aware of until many years later.
I learnt much from Pam and from observing the friendship between her and my mother. She showed me how to clean a bathroom properly and how to use one square of toilet paper if that was all you were left with. (You don’t want to know.) She taught me the pinch test on the back of your hand to see how your skin was ageing. I remember watching with fascination as the skin on our younger hands pinged back quickly but when she pinched her own hand, it went back into place at a much slower pace. Funny the things we remember.
Pam and Mum’s friendship was close and honest. I observed them with equal parts envy, interest and delight. In retrospect as an adult, probably in the hope that I too could emulate this kind of relationship one day. From my perspective, they seemed to stimulate and challenge each other both intellectually and emotionally. It appeared as if the status quo existed only to be questioned. Pam was a stalwart support in some of my family’s darkest times and their friendship taught me that friends don’t always have to see eye-to-eye. That close relationships can move past a disagreement or a hurt into a deeper understanding. Her and Mum are still friends and being divided by distance, talk on the phone, text often and visit when they can.
Pam is a never boring whirlwind of ideas, deep thoughts, rapid-fire at times bewildering conversation that pushes you to keep up. She has an abiding passion for the new, for life, for food, for people, for education and for the intricate workings of the human mind and body. In a recent conversation based around baking, I had told her that my scones were always too heavy, so she promptly emailed me her lemonade scone recipe.
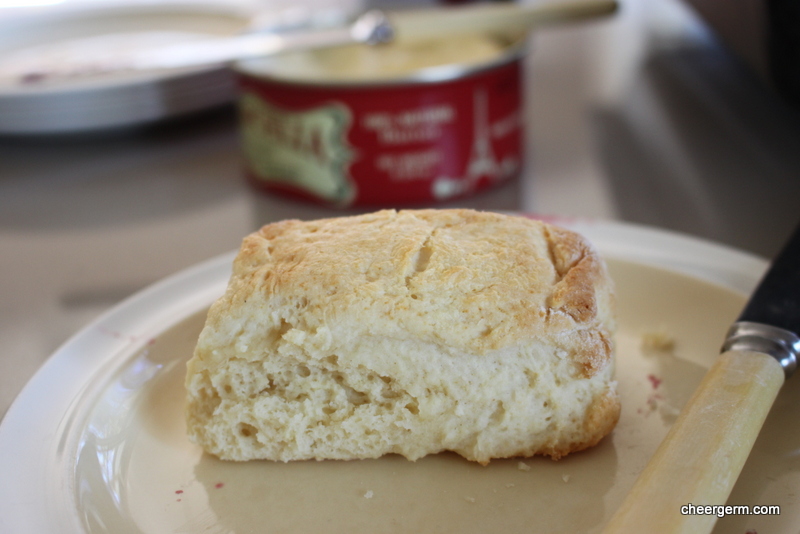
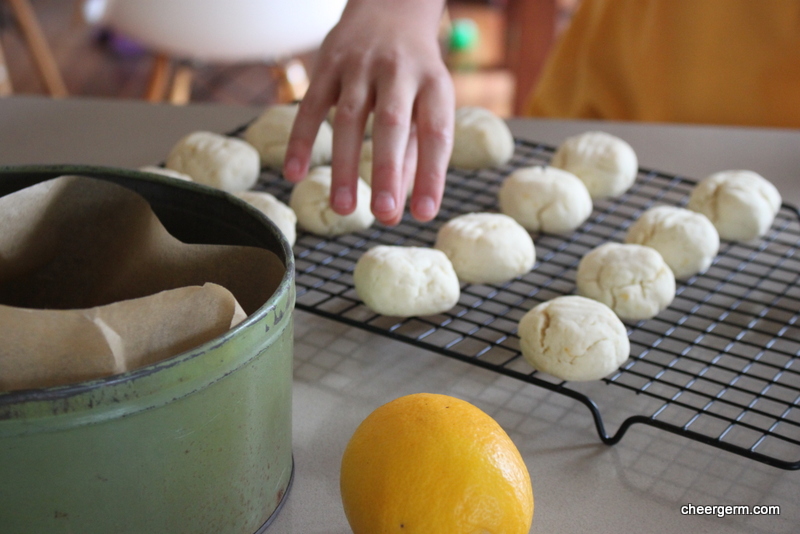
Using the lightest possible hand (as directed), the scones have turned out beautifully light and airy both times I have baked them. They will slip nicely into my standard repertoire and be the basis of some gluten free experimentation in the future. I think I will call them Pam’s Lemonade Scones. Because that’s the very least that she deserves.
Lemonade scones
WHAT YOU NEED
2 cups self-raising flour
1/2 tsp salt
1/4 cup castor sugar
125 ml thick cream
125 ml lemonade
2 tbsp milk
HOW YOU DO IT
Preheat oven to 200C. Line a tray with baking paper.
Sift the flour, salt and caster sugar into a medium sized bowl.
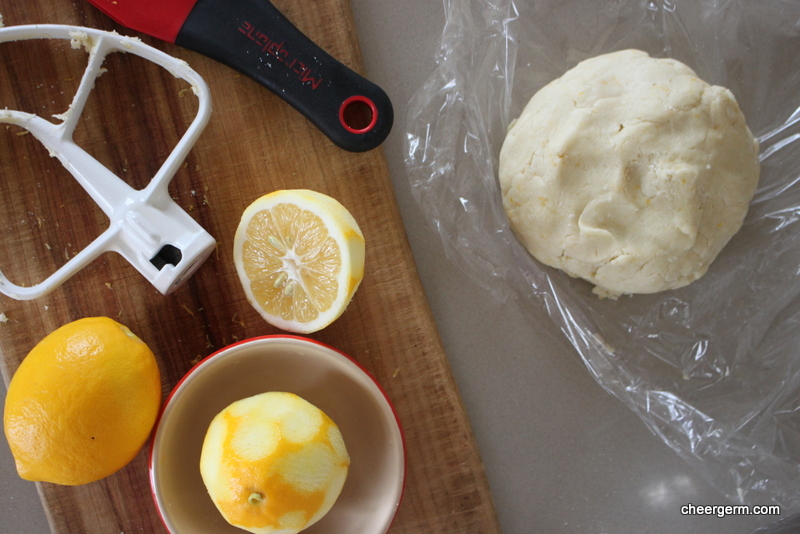
Add the cream, lemonade and milk to the flour mixture quickly. Using a knife or spatula and with a very light touch, bring the mixture together.
Tip onto a floured board and very lightly knead together. (The mixture is quite wet and sticky.)
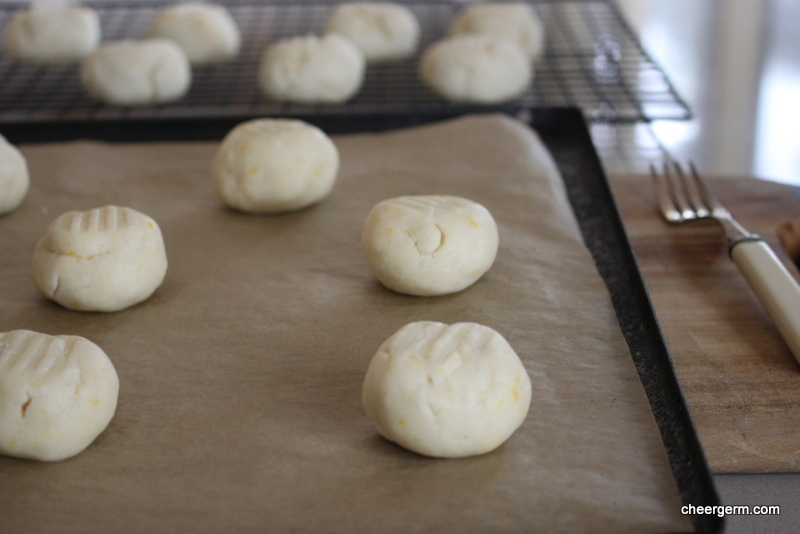
Pat into a 2cm thick square and cut the mixture into 12 squares. (Or use a cutter but I think this would be a wee bit tricky with a sticky mixture like this.)
Brush the top with any remainding cream.
Bake for 10-15 minutes until risen and lightly golden brown.
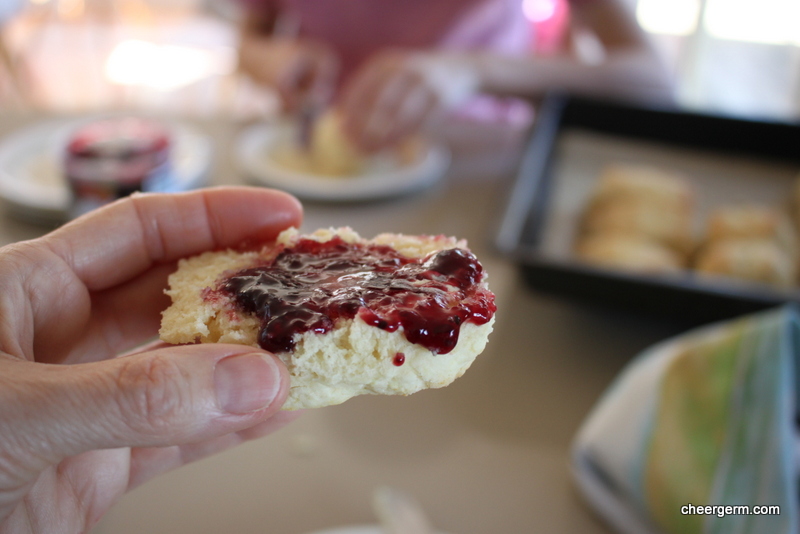
Serve with butter, jam, cream. Whatever takes your fancy.
Pam’s Lemonade Scones