It was late and I had been lying next to my twelve year old lad with my arm draped over him. I stood and said good night, exhausted and ready to flop into the sweet comfort of bed and attempt some semblance of sleep.
Kid 2: Mum, could I please just have one more big proper hug?
Me: Oh mate, I just gave you a hug.
Kid 2: But this time I want a proper two-armed hug.
So, I leant down, scooped up his skinny little body and squeezed him hard. Cheek to cheek. I kissed him and told him I loved him.
As I stood to go he spoke these words to me.
‘I am so glad that I have your Mum hugs with me to go into the world. They make me feel strong and loved and special.’
Sometimes, I am grumpy, mean and tired. Sometimes, my children are grumpy, mean and tired. This motherhood gig isn’t always a lark. I am not whinging. I made my choice. I am also fully aware of all those women who have tried to become mothers and couldn’t, of mothers who mourn the loss of a child, of women who become stepmothers and all those in the sisterhood who have simply decided motherhood was not for them. Total respect and love to us all.
In the future, when feeling like everyone wants a piece of me, or the next time my children are feeling much the same way; I will think of the words from my ‘on the cusp of adolescence son’, take a deep breath, open my arms and just hug them.
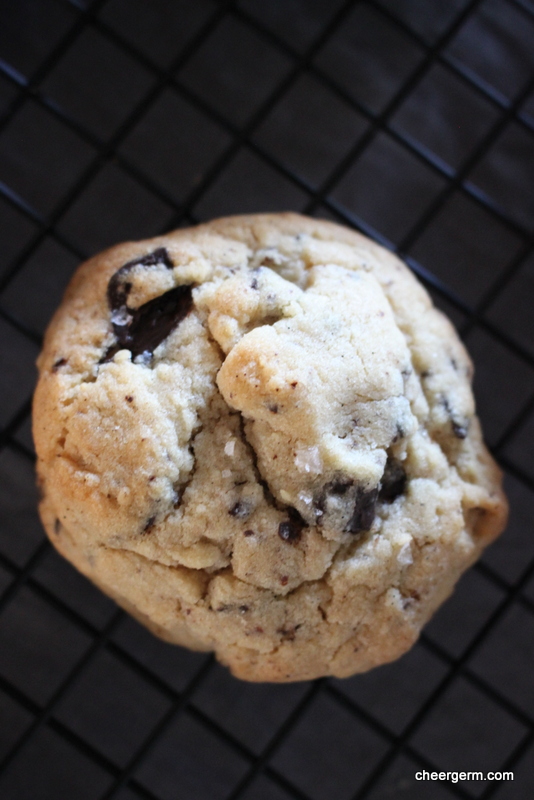
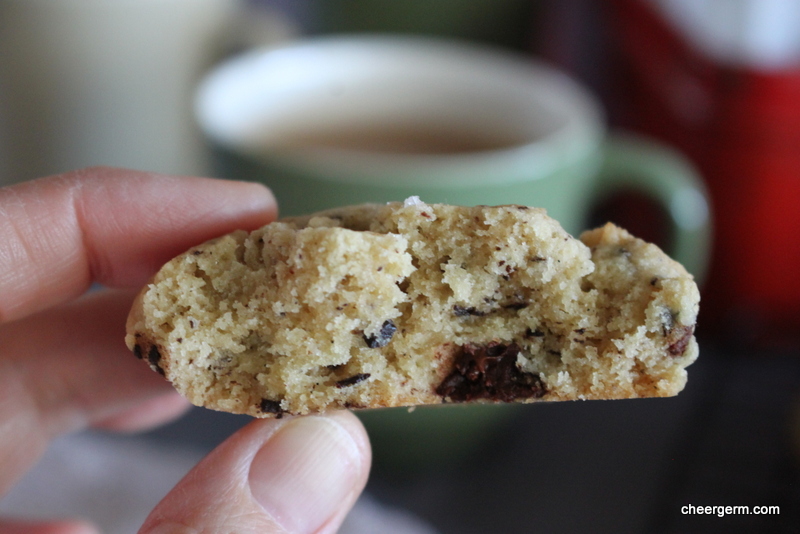
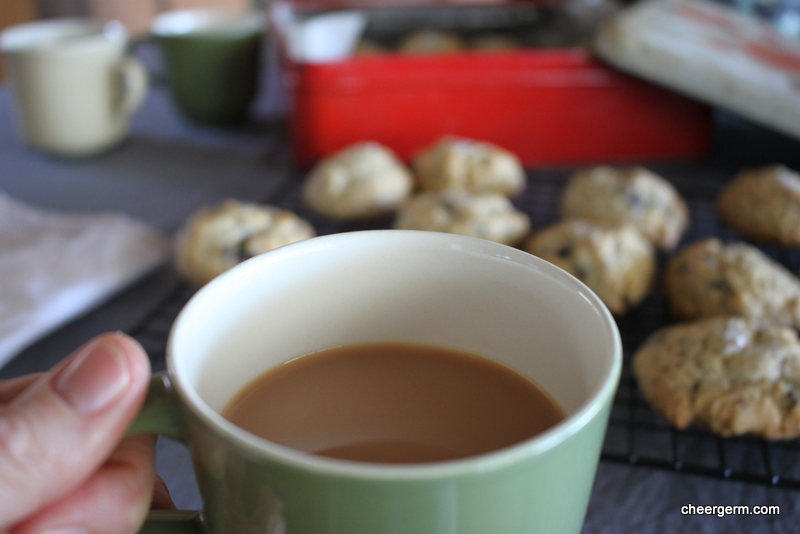
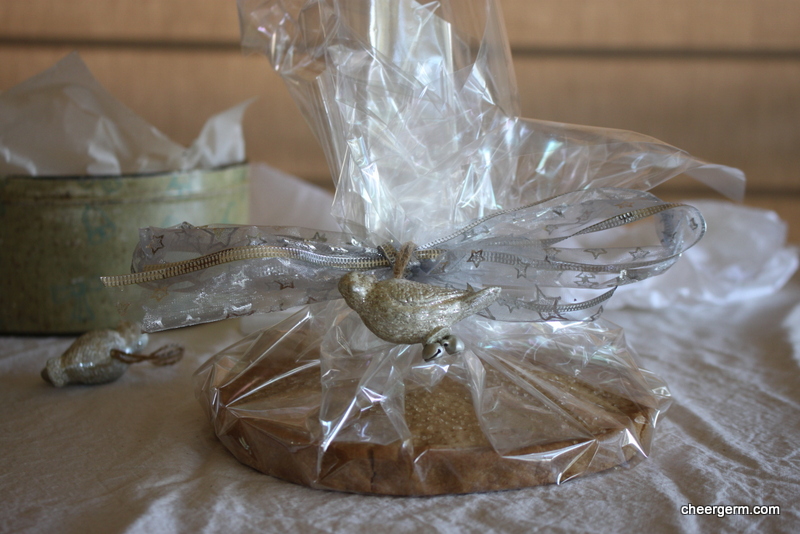
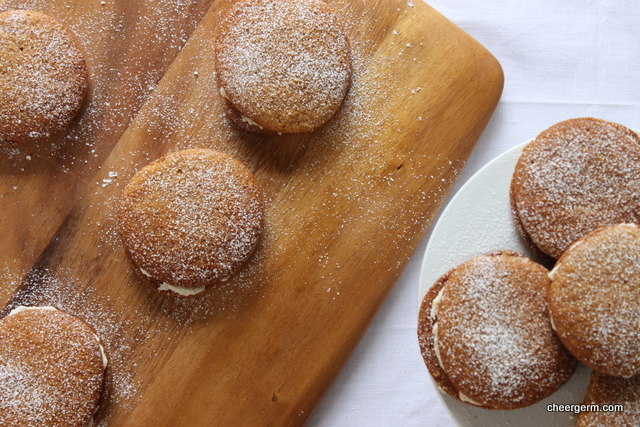
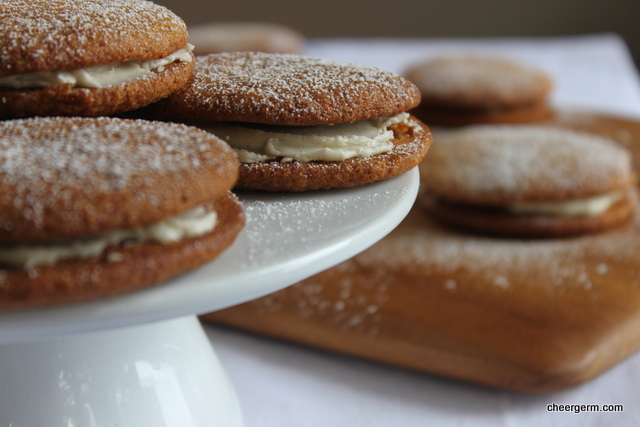
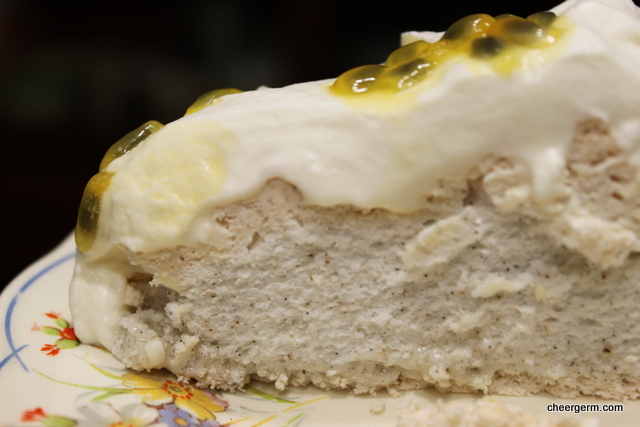
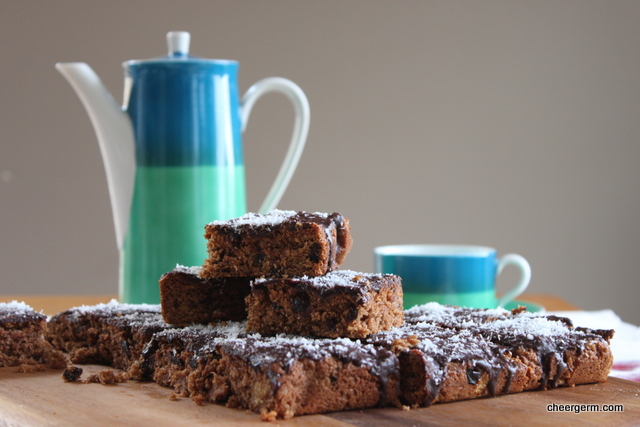
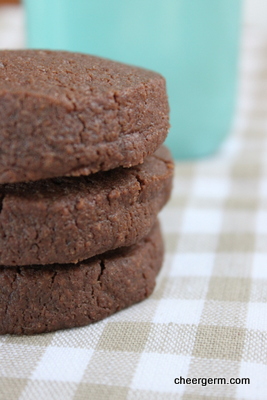
These biscuits are on regular rotation in our household and are almost as good as a cuddle from a loved one. Using quality dark chocolate and a sprinkle of sea salt elevates them just a little past the ordinary, to the very bloody good. Happy Mother’s Day to all of us mothers, in whatever form that may take.
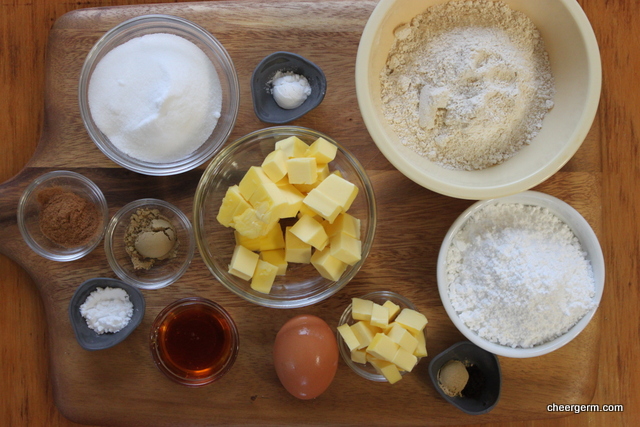
CHOCOLATE CHIP BISCUITS
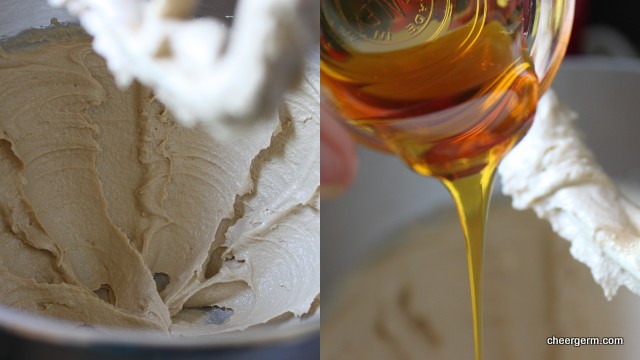
125g butter
1/2 cup white caster sugar
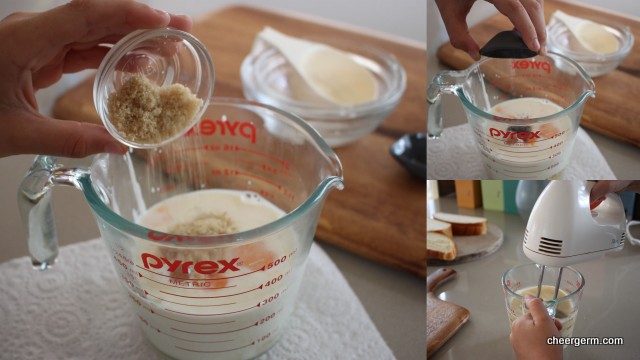
1/2 cup soft brown sugar
1/2 tsp vanilla essence (or 1/4 tsp vanilla bean powder)
1 egg, lightly beaten
1 3/4 cups self-raising flour
125g dark chocolate chopped (or 125g chocolate chips)
1 tsp sea salt
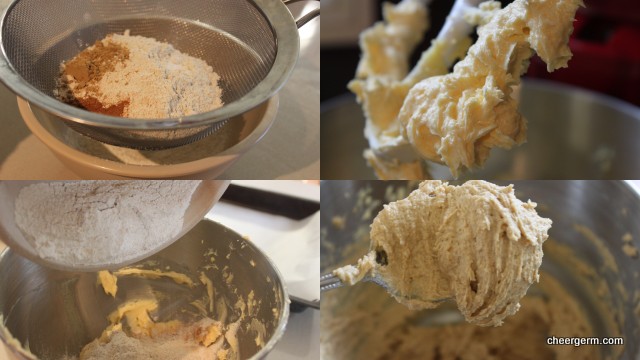
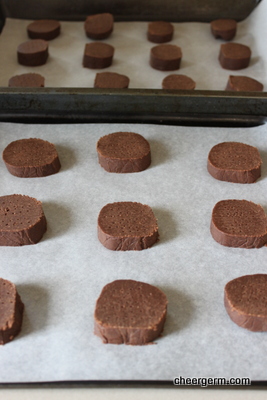
Preheat oven to 180C and line two trays with baking paper.
Cream together butter, sugars and vanilla until light and fluffy. (I use a stand mixer for this.)
Add egg gradually, beating well after each addition.
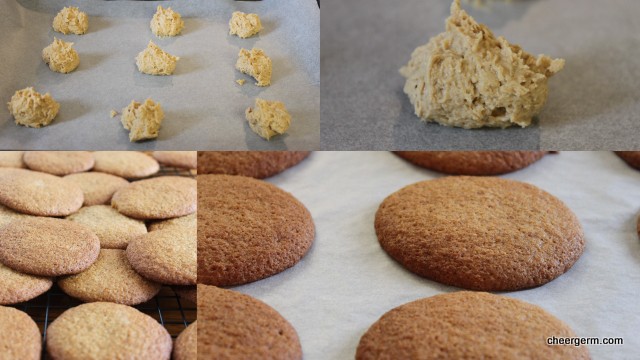
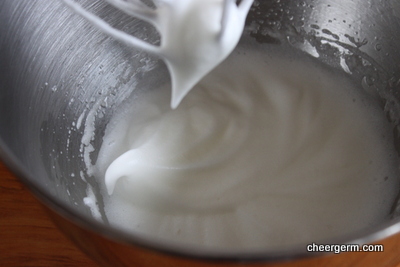
Mix in sifted flour then add the chocolate (or chocolate chips) and stir through well.
I often let this dough rest for half an hour or so before baking but it doesn’t matter if you don’t.
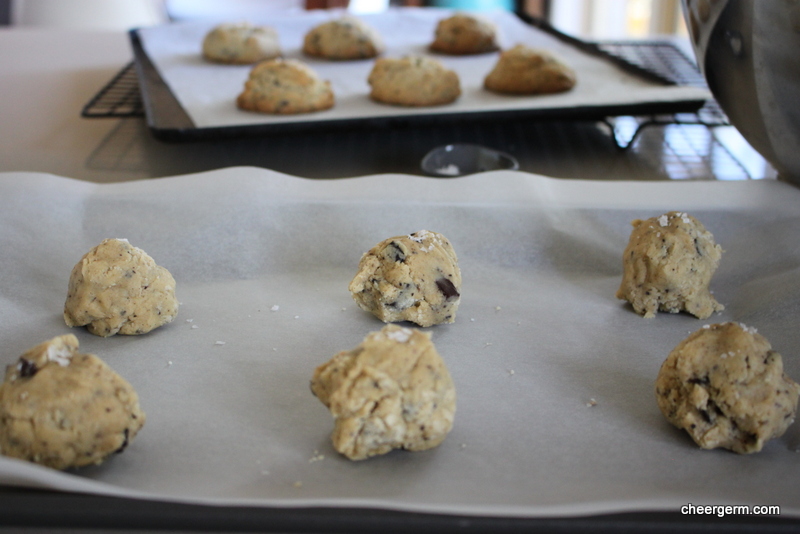
Shape large teaspoons of mixture into balls and place them on a baking tray lined with baking paper. Allow room for some spreading. Sprinkle a little sea salt atop each biscuit.
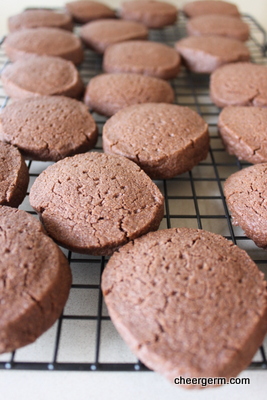
Bake for 10-12 minutes. Remove the biscuits just as the edges start to colour so they don’t overcook and go too crunchy.
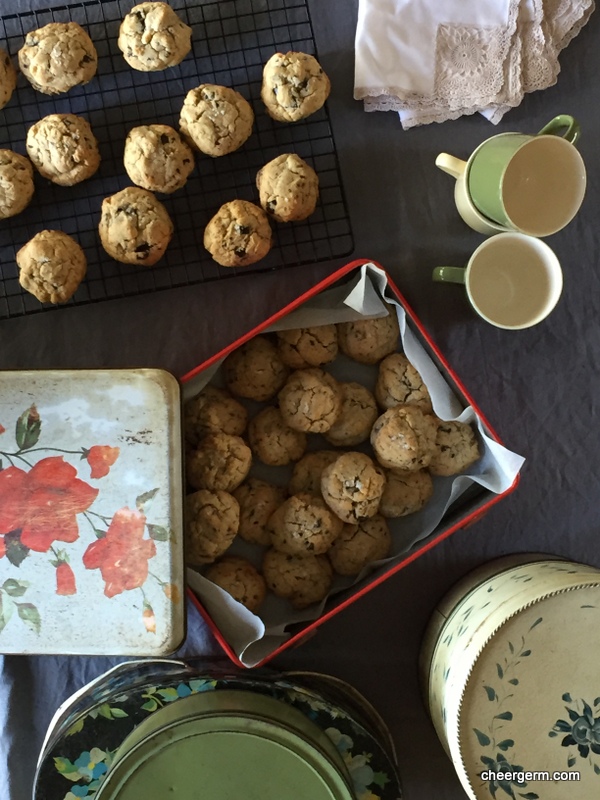
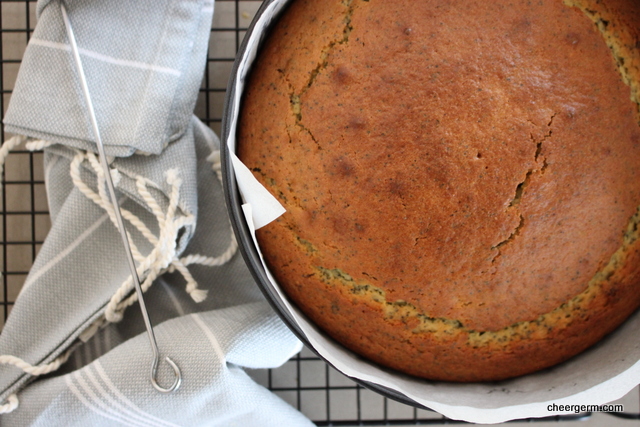
Makes about 15 to 20 biscuits, depending on how large you make them. (The photos in this post contain a double batch of these bikkies. Hence, the large amount.)
A recipe that a friend gave many years ago, slightly adapted.
Go here if you are looking for a gluten free chocolate chip biscuit recipe.